
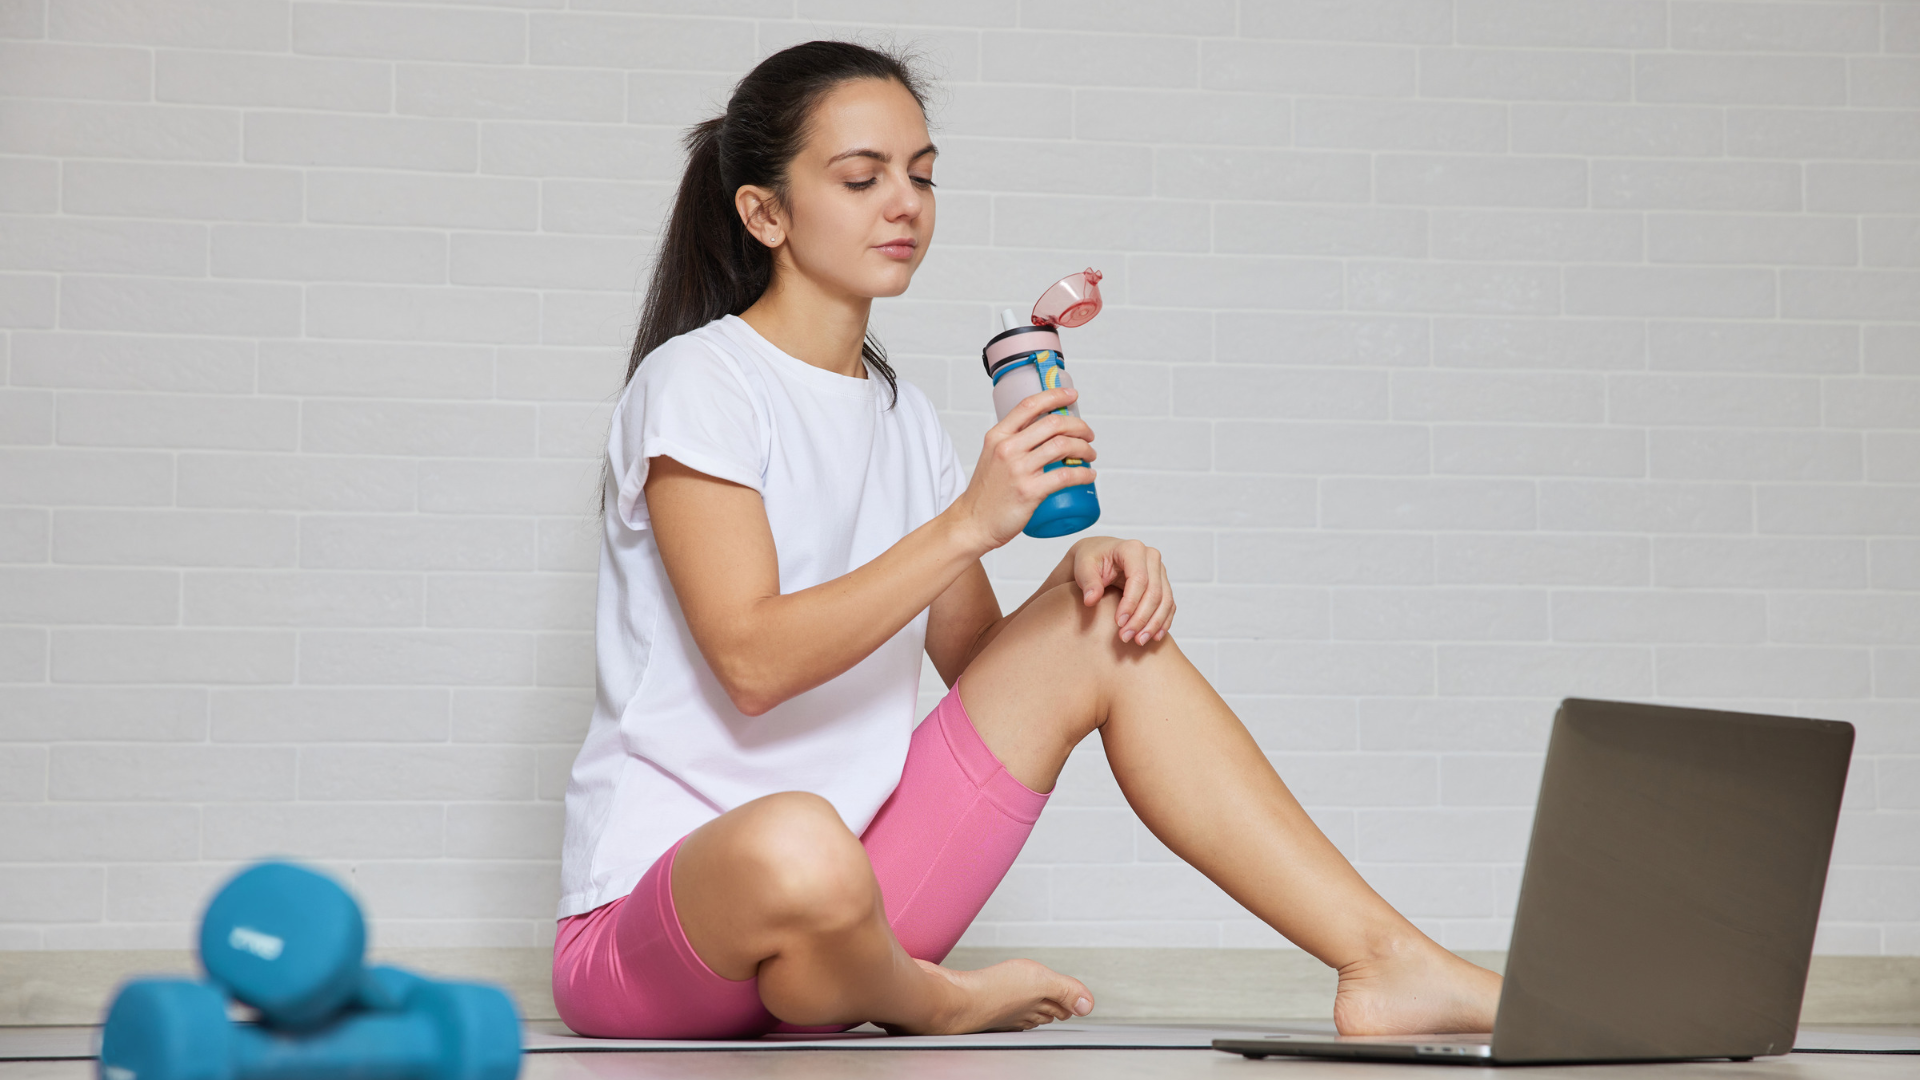
Low-Impact Workouts for Beginners: Gentle Moves That Still Work Low-impact workouts for beginners are the kindest way to start moving — and they work. “Low-impact” means at least one foot stays on the ground at all times: no jumping, no running, no pounding on your knees. It does not mean easy or ineffective. A slow squat, a wall push-up, and a glute bridge held for five seconds will challenge your muscles just as honestly as any high-impact move — they just do it without jarring your joints. If your knees, ankles, or lower back have ever told you that jumping jacks are not for you, this guide is for you. This guide is for every beginner who wants to move gently and still get stronger — whether you are new to exercise, coming back after a break, or managing sensitive joints. Everything here is at home, bodyweight only, and beginner-friendly. Who this is for, what you need, and modifications This box is on every post in this cluster, because it is the fastest way to know whether a workout fits you. Read it before you start. Who this is for: Women who are new to working out and want gentle, joint-friendly exercise. Every body type and fitness level — including if you have never worked out before, or if your knees or ankles are sensitive. If you can stand up from a chair and walk around your home, you can start here. What you need: A clear space about the size of a yoga mat, a sturdy chair, comfortable clothes, supportive shoes or bare feet on a mat, and a bottle of water. That is the whole list — no equipment needed. Level: True beginner. Every move has a gentler version, and the plan builds slowly so your joints and muscles adjust together. Time: 20–30 minutes per workout, 3 days a week. Each workout includes a 5-minute warm-up and a 5-minute cool-down. Low-impact swaps: Every move is already low-impact — no jumping, no running, no pounding. The swaps table below gives you a low-impact version of every common high-impact move. If anything hurts, stop and use the swap. Check with your doctor first if you have a health condition or are recovering from an injury. Low-impact vs high-impact, honestly explained The difference is simple. In a high-impact move, both feet leave the ground — jumping jacks, burpees, running, box jumps. Every landing sends a jolt through your ankles, knees, hips, and lower back. In a low-impact move, at least one foot stays on the ground at all times — walking, marching, squats, bridges, swimming, cycling. Here is the honest part: high-impact exercise is not bad, and low-impact exercise is not a lesser version of it. High-impact work is good for bone density and power — but it is not required to get strong, fit, or healthy. Low-impact work builds strength, balance, flexibility, and stamina just as well, with far less risk of joint pain. And “low-impact” is not the same as “low-intensity” — slower tempos, longer holds, and more reps make it as challenging as you like. The full low-impact routine Six moves, whole body, no jumping. Do them in order, rest 60 seconds between sets, and move slowly — two seconds down, one second up. Warm-up: standing march — 5 minutes Stand tall, arms relaxed. March in place, lifting each knee to about hip height, swinging your arms naturally. This raises your heart rate gently and warms up your hips and knees. Never skip it. Chair squat — 2 sets of 8–12 reps (legs and glutes) Stand in front of a sturdy chair, feet about hip-width apart, toes slightly out. Push your hips back, bend your knees, and lower until your bottom just touches the chair — then press through your heels to stand. Keep your chest up and your knees over your toes. Easier: lower only halfway. Wall push-up — 2 sets of 8–12 reps (chest, shoulders, arms) Stand facing a wall, about an arm’s length away, hands flat on the wall at shoulder height. Bend your elbows, bring your chest toward the wall, keeping your body in one straight line from head to heels, then push back. Easier: stand closer to the wall. Glute bridge — 2 sets of 10–15 reps (glutes and lower back) Lie on your back, knees bent, feet flat on the floor, arms by your sides. Press through your heels and lift your hips until your body makes a straight line from shoulders to knees. Squeeze your glutes at the top, hold one second, then lower slowly. Easier: lift only halfway. Standing side leg lift — 2 sets of 8–10 reps per side (outer hips and balance) Stand behind your chair, hands resting lightly on the back of it for balance. Keeping your standing leg soft, lift one leg out to the side about a foot, then lower it slowly. Keep your body upright. Easier: lift the leg only a few inches. Cool-down: gentle stretch — 5 minutes Slow marching for one minute, then stretch: reach your arms overhead and lean gently side to side, pull one knee gently toward your chest (hold the chair), and stretch your calves against a wall. Hold each stretch for 20–30 seconds. Low-impact swaps for every high-impact move This table is yours to keep. Any time a workout video, a class, or a friend tells you to do a high-impact move, use the swap instead — you get the same muscle work without the joint jolt. High-impact move Low-impact swap How to do it Jumping jack Step-out jack Step one foot out and raise your arms, then step back. Alternate sides. Burpee Walk-out to plank Walk your hands down, step back into a plank, hold, then walk back up. Jump squat Chair squat A slow chair squat with a two-second pause at the bottom. Same legs, no landing. High knees (running) Standing march March in place, knees to hip height, arms swinging. Feet stay grounded. Print
No-Gym Workout Plans for Women: The Complete Beginner Plan No-gym workout plans for women are the simplest way to start working out: no membership, no commute, no equipment, no waiting for a machine. Just you, a small patch of floor, and a plan. This guide is the complete beginner plan — a full-body bodyweight routine, a four-week schedule, and everything you need to keep progressing without ever buying a single piece of equipment. If you have a living room, you have a gym. You might be wondering whether a workout without weights can actually do anything. It can — especially for beginners. Your body is the weight, and for someone who is just starting, it is plenty. Bodyweight squats, push-ups, glute bridges, and rows using a table edge build real strength, balance, and stamina. The trick is not the equipment, it is the plan: doing the right moves, in the right order, a little harder each week. Who this is for, what you need, and modifications This box is on every post in this cluster, because it is the fastest way to know whether a workout fits you. Read it before you start. Who this is for: Women who are new to working out and do not have — or do not want — a gym. Every body type, every size, every fitness level, including if you have never done a single workout before. If you can stand up from a chair and walk around your home, you can start here. What you need: A clear space about the size of a yoga mat, a sturdy chair, a sturdy table or countertop, comfortable clothes, supportive shoes or bare feet on a mat, and a bottle of water. That is the whole list — no dumbbells, no bands, no gym. Level: True beginner. Every move has a gentler version, and the four-week plan builds slowly so your body has time to adjust. Time: 20–30 minutes per workout, 3 days a week to start. Each workout includes a 5-minute warm-up and a 5-minute cool-down, so the moving part is only 10–20 minutes. Low-impact swaps: Every move in this guide is already low-impact — no jumping, no running, no pounding on your knees. Where a move has a harder version, we say so, and the easier version is always the default. If anything hurts, stop that move and use the swap listed next to it. What “no equipment” really means “No equipment” does not mean “no help.” It means your body and your home are the equipment. A chair becomes a squat target and a balance aid. A countertop becomes a push-up station. A sturdy table becomes a rowing bar. A wall becomes a support for balance. A filled water bottle becomes a light weight, if you ever want one — and you do not need it yet. The point is that you already own everything this plan needs. Build the habit first, with what you have. If you decide later that you want dumbbells or a resistance band, you will know exactly what you want and why — and our beginner dumbbell guide is there when you are ready. Dumbbell Workout for Beginners The full-body no-gym routine Six moves, whole body, no equipment. Do them in order, rest 60–90 seconds between sets, and move slowly — two seconds down, one second up. Chair squat — 3 sets of 8–12 reps (legs and glutes) Stand in front of a sturdy chair, feet about hip-width apart, toes slightly out. Push your hips back, bend your knees, and lower until your bottom just touches the chair — then press through your heels to stand. Keep your chest up and your knees over your toes. Easier: lower only halfway, or hold the chair for balance. Countertop push-up — 3 sets of 8–12 reps (chest, shoulders, arms) Stand facing a sturdy countertop or table, hands flat on the edge at shoulder-width apart, feet back so your body makes a straight line from head to heels. Bend your elbows and lower your chest toward the counter, then push back to the start. Keep your hips in line — no sagging, no sticking your bottom out. Easier: use a wall instead of a countertop. Glute bridge — 3 sets of 10–15 reps (glutes and lower back) Lie on your back, knees bent, feet flat on the floor, arms by your sides. Press through your heels and lift your hips until your body makes a straight line from shoulders to knees. Squeeze your glutes at the top, hold one second, then lower slowly. Easier: lift only halfway. Harder: hold the top for five seconds. Table row — 3 sets of 8–10 reps (back and arms) Lie under a sturdy table, reach up and grip the edge with both hands, shoulder-width apart. Keeping your body straight from head to heels, pull your chest up toward the table edge, then lower slowly. Check first that the table is heavy and stable enough to hold your weight, and that it will not tip. Easier: bend your knees and keep your feet flat. Bird dog — 3 sets of 6 reps per side (core and balance) Start on hands and knees, hands under shoulders, knees under hips. Slowly reach your right arm forward and your left leg back, keeping your hips level. Hold two seconds, return, switch sides. Easier: lift only the arm, or only the leg. Standing march — 3 minutes (cardio and warm-up) Stand tall and march in place, lifting each knee to about hip height, swinging your arms naturally. Use it as your warm-up, between sets, or as the cardio finish at the end of the workout. Easier: lift knees lower and go slower. The complete 4-week beginner plan Three workouts a week, with at least one rest day between them. Each workout starts with a 5-minute warm-up and ends with a 5-minute cool-down. The whole thing takes 20–30 minutes. Week Workout A (Mon) Workout B (Wed) Workout C (Fri)
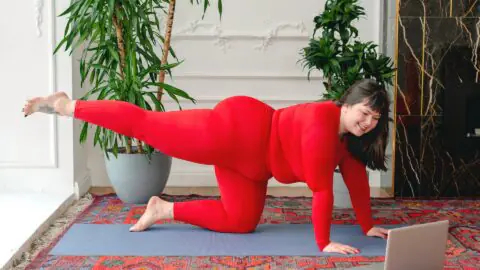
Plus-Size Workouts at Home: A Beginner’s Guide Plus-size workouts at home are for you if you want to move more, get stronger, and feel better in your body — starting exactly where you are, in your own living room, with no audience and no judgment. This guide is written for plus-size beginners, by a blog that believes fitness is for every body. There is nothing here about shrinking yourself, nothing about earning your food, and nothing that treats your body as a problem to fix. Your body is not the problem. The problem is that most workout content was never designed with your body in mind — so this guide is. Working out at home has real advantages when you are plus-size and just starting out. There is no gym floor to feel watched on, no equipment sized for someone else, no class where everyone else seems to know the moves already. At home, you set the pace, you pick the moves, and you can pause whenever you need to. That privacy is a smart way to build a habit, and plenty of women get strong and fit entirely at home. Everything in this guide is joint-friendly and low-impact — no jumping, no running, no pounding on your knees. Every move has a modification, and the modifications are the default, not an afterthought. Who this is for, what you need, and modifications This box is on every post in this cluster, because it is the fastest way to know whether a workout fits you. Read it before you start. Who this is for: Plus-size women who are new to working out, or coming back after a break. Every fitness level — including if you have never done a single workout before. If you can stand up from a chair and walk around your home, you can start here. What you need: A clear space about the size of a yoga mat, a sturdy chair, comfortable clothes that fit well, supportive shoes or bare feet on a mat, and a bottle of water. That is the whole list — no dumbbells, no bands, no gym. Level: True beginner. Every move has a gentler version, and the plan builds slowly over four weeks so your body — especially your knees, ankles, and lower back — has time to adjust. Time: 20–30 minutes per workout, 3 days a week to start. Each workout includes a 5-minute warm-up and a 5-minute cool-down, so the moving part is only 10–20 minutes. Low-impact swaps: Every move in this guide is already low-impact — no jumping, no running, no high-impact cardio. Where a move puts pressure on your knees, we give a chair-supported or seated version right next to it. If anything hurts, stop that move and use the swap. If you have a health condition or knee or back issues, check with your doctor first. The gear that actually helps You do not need to buy anything to start — but a few things genuinely make working out more comfortable when you are plus-size. A supportive sports bra. This is the single most important piece of gear. Look for a high-impact sports bra with a wide underband and wide straps, and a fit that holds you firmly without digging in. If you can forget about it during a workout, it fits. Workout clothes that fit your body now. Not the size you hope to be — the size you are today. Look for moisture-wicking fabric, a longer top that stays put when you bend, and leggings with a wide, high waistband that does not roll down. Supportive shoes and a thick mat. Flat, stable shoes — a cross-trainer or a walking shoe — or bare feet on a mat. A thicker mat (around 10mm) or a folded blanket under your knees makes floor moves far more comfortable. And keep a sturdy chair nearby — not a folding chair, not one with wheels. Do not buy dumbbells, bands, or any equipment before you have built the habit. The habit comes first. The routine: joint-friendly, no-jump moves Every move below is low-impact and knee-friendly. Do them in order, rest 60 seconds between sets, and stop any move that causes joint pain — use the swap instead. Chair squat — 2 sets of 8–10 reps Stand in front of a sturdy chair, feet about hip-width apart, toes slightly out. Push your hips back, bend your knees, and lower until your bottom just touches the chair — then press through your heels to stand. Keep your chest up and your knees over your toes. Easier: lower only halfway, or hold the chair for balance. Knee-friendly swap: sit fully on the chair, then stand up slowly using your legs, not your hands. Wall push-up — 2 sets of 8–10 reps Stand facing a wall, about an arm’s length away, hands flat on the wall at shoulder height. Bend your elbows, bring your chest toward the wall, keeping your body in one straight line from head to heels, then push back. Easier: stand closer to the wall. Harder: step further back, or use a countertop. Glute bridge — 2 sets of 10–12 reps Lie on your back, knees bent, feet flat on the floor, arms by your sides. Press through your heels and lift your hips until your body makes a straight line from shoulders to knees. Squeeze your glutes at the top, hold one second, then lower slowly. This one is a favourite for plus-size beginners — it strengthens your glutes and lower back without putting any weight on your knees. Easier: lift only halfway. Harder: hold the top for five seconds. Seated march — 2 minutes Sit tall in your chair, feet flat on the floor. Lift one knee at a time toward your chest, alternating sides, at a comfortable rhythm. This is a real cardio move — it raises your heart rate without any impact on your joints — and it is also a great warm-up or rest-between-sets
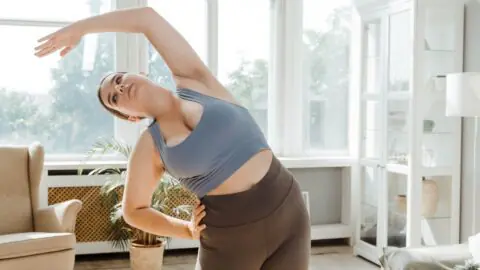
Beginner Workouts for Women: At-Home Plans for Every Body Type Beginner workouts for women should meet you where you are — in your living room, in the body you have today, with no gym membership, no fancy equipment, and no experience needed. This guide is the starting point for every body type: if you have never worked out before, if you are coming back after a long break, or if the gym feels like someone else’s place, you are in the right spot. Everything here is at home, beginner-friendly, and built around modifications, so you can make every move fit your body instead of forcing your body to fit the move. We believe fitness is for every body — that is the whole point of Custom Curves. You will not find any “before” photos, any talk of earning your food, or any promise of a new body in a set number of weeks. Here is a real plan: simple moves with clear form cues, a four-week starter schedule, and honest expectations about what the first month actually feels like. If you want to go deeper, we have a companion guide for each — plus-size workouts, no-gym plans, and low-impact workouts — all linked below. Who this is for, what you need, and modifications This box is on every post in this cluster, because it is the fastest way to know whether a workout fits you. Read it before you start. Who this is for: Women who are new to working out, or coming back after a break. Every body type, every size, every fitness level — including if you have never done a single workout before. If you can stand up from a chair and walk around your home, you can start here. What you need: A clear space about the size of a yoga mat, a sturdy chair, comfortable clothes you can move in, supportive shoes or bare feet on a mat, and a bottle of water. That is the whole list — no dumbbells, no bands, no gym. Everything in this guide is bodyweight only. Level: True beginner. Every move has a gentler version, and the plan builds slowly over four weeks so your body has time to adjust. Time: 20–30 minutes per workout, 3 days a week to start. Each workout includes a 5-minute warm-up and a 5-minute cool-down, so the moving part is only 10–20 minutes. Low-impact swaps: Every move in this guide is already low-impact — no jumping, no running, no pounding on your knees. Where a move has a harder version, we say so, and the easier version is always the default. If anything hurts (not the good kind of effort, but real pain), stop that move and use the swap listed next to it. Why at-home beginner workouts work The best workout is the one you actually do, and for most beginners, home wins on every count that matters. There is no commute, no waiting for equipment, no one watching, and no membership fee. You can work out in the clothes you already own, at the time that suits you, with your own music on. That low friction is what turns “I should work out” into “I worked out today.” Home also lets you learn at your own pace. In a class, everyone moves at the instructor’s speed. At home, you can pause, re-read the form cues, and repeat a move until it feels right. Good form is what keeps you safe and what makes the moves work. Our strength training guide makes the same point: you do not need a gym to build strength, and bodyweight is a real place to start. Strength Training for Women: A Complete Guide The 5 rules of starting as a beginner Before the moves, five rules. They are simple, and they are the difference between starting and sticking with it. Start smaller than you think you need to. Your first workout should feel almost too easy. You are teaching your body a new habit, and a workout that leaves you wrecked will not get repeated. Form first, always. A slow squat with good form beats ten fast sloppy ones. Read the cues, move slowly, and stop if your form falls apart. Rest is part of the workout. Your muscles get stronger between workouts, not during them. Three days a week with rest days in between is the right starting point. Soreness is normal, pain is not. Mild muscle soreness for a day or two after your first few workouts is normal and fades as your body adapts. Sharp pain or joint pain is a sign to stop that move and use a gentler version — or to check with a doctor. Consistency beats intensity. Three gentle workouts a week for a month will do more for you than one heroic workout followed by three weeks off. The goal is to get to week four. The moves: a beginner-friendly starter set These are the moves the whole cluster is built on. They are all bodyweight, all low-impact, and all work in a small space. Learn them here, and you will see them again in the companion guides. Chair squat — 2 sets of 8–10 reps Stand in front of a sturdy chair, feet about hip-width apart, toes slightly out. Push your hips back, bend your knees, and lower until your bottom just touches the chair — then press through your heels to stand. Keep your chest up and your knees over your toes. Easier: lower only halfway. Harder: pause two seconds at the bottom. Wall push-up — 2 sets of 8–10 reps Stand facing a wall, about an arm’s length away, hands flat on the wall at shoulder height. Bend your elbows, bring your chest toward the wall, keeping your body in one straight line from head to heels, then push back. Easier: stand closer to the wall. Harder: step further back, or use a countertop. Glute bridge — 2 sets of 10–12 reps Lie on
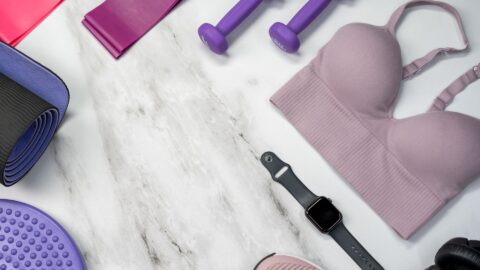
Shopping for the fitness lover in your life (or for yourself)? We rounded up 10 practical, size-inclusive gifts for workouts, recovery and everyday wellness that she’ll actually use.

Can’t choose between mashed potatoes and mashed cauliflower? We don’t have to! Our creamy half-and-half garlic mash is fluffy, comforting and about 150 calories per serving.