



High-Protein Turkey Taco Skillet Pin Print High-Protein Turkey Taco Skillet Serving 4 servingsPrep time 10 minutesCooking time 20 minutesCalories 430 kcal Taco night just got a high-protein glow-up, ladies! This High-Protein Turkey Taco Skillet has everything you love about tacos (seasoned meat, beans, corn, peppers and melty cheese) all made in one pan in about 30 minutes. Each serving has around 36 grams of protein and plenty of fiber, so it actually keeps you full. Scoop it into tortillas, pile it on a salad, serve it over rice or eat it straight from a bowl. It also makes amazing meal-prep lunches for the week. 🛒 Ingredients 1 tablespoon olive oil 1 lb 93% lean ground turkey 1 small yellow onion, diced 1 red or green bell pepper, diced 2 cloves garlic, minced 2 tablespoons reduced-sodium taco seasoning (or 1 packet) 1 can (15 oz) pinto or black beans, drained and rinsed 1 can (10 oz) diced tomatoes with green chiles, undrained 1 cup frozen or canned corn (drained) 1/2 cup water or low-sodium chicken broth 3/4 cup shredded reduced-fat Mexican-style cheese 1/2 cup plain nonfat Greek yogurt (for topping, instead of sour cream) Fresh cilantro, sliced green onions and lime wedges, for serving Optional for serving: high-fiber tortillas, brown rice, cauliflower rice, romaine lettuce cups, sliced avocado or salsa 👩🏻🍳 Instructions Brown the Turkey: Heat the olive oil in a large (12-inch) skillet over medium-high heat. Add the ground turkey and cook for 5 to 6 minutes, breaking it into small crumbles, until browned and no longer pink. Add the Veggies: Add the onion and bell pepper and cook for 3 to 4 minutes, until softened. Stir in the garlic and cook for 30 seconds, until fragrant. Season: Sprinkle in the taco seasoning and stir until the turkey and veggies are evenly coated. Simmer: Add the beans, diced tomatoes with green chiles (with their juices), corn and water or broth. Bring to a simmer, then lower the heat to medium-low and cook for 6 to 8 minutes, stirring now and then, until the sauce thickens. Get Melty: Sprinkle the cheese evenly over the top, cover the skillet and cook for 1 to 2 minutes, until the cheese melts. Top and Serve: Finish with a dollop of Greek yogurt, fresh cilantro, green onions and a squeeze of lime. Serve on its own or with your favorite taco fixings. Nutritional Information A Quick Note: The following nutritional information is an estimate for 1 serving (1/4 of the skillet) including 2 tablespoons of Greek yogurt, without tortillas, rice or avocado. Actual values can vary based on the specific brands and ingredients you use. Calories: ~430 kcal Protein: ~36 g Fat: ~17 g Carbohydrates: ~32 g Fiber: ~7 g Sugar: ~6 g Tips & Swaps Swap the protein: Lean ground chicken or 95% lean ground beef work great here, too. Make it gluten-free: Use a taco seasoning labeled gluten-free and serve it in corn tortillas or over rice. Turn up the heat: Add a diced jalapeño with the onion, or use a “hot” can of tomatoes and green chiles. Meal prep: Divide into containers and keep in the fridge for up to 4 days. Add the yogurt and fresh toppings when you’re ready to eat. Freezer friendly: Freeze cooled portions (without toppings) for up to 3 months and reheat on the stove or in the microwave. One pan, 30 minutes and big taco flavor with every bite. Taco Tuesday is officially sorted. Enjoy, ladies! Check out these items! SHOP NOW! SHOP NOW! SHOP NOW! SHOP NOW! SHOP NOW! SHOP NOW! Share: Facebook Pinterest Email SHOP NOW! SHOP NOW! Social Media Facebook-f Youtube Pinterest Instagram Tiktok Most Popular Get The Latest Updates Subscribe To Our Weekly Newsletter No spam, notifications only about new post, updates. Categories Related Posts

Walking for Weight Loss: A 4-Week Plan for Women Ladies, can we give walking the credit it deserves? It’s free, you already know how to do it, it’s gentle on your joints and you can do it almost anywhere. And when it comes to weight loss, a regular walking habit can make a real difference, especially when you pair it with good food and a little consistency. If you’ve been waiting for the “perfect” time to start moving again, this is your sign. This 4-week walking plan for women starts where you are and builds up week by week, so you’re never thrown into the deep end. No gym, no fancy equipment and no video needed. Just a good pair of shoes, a timer and you. Why Walking Works for Weight Loss Walking burns calories, and because it’s easy to recover from, you can do it most days of the week. That’s the secret: the best workout is the one you’ll actually keep doing. A few more reasons to love it: It adds up fast. A brisk 30-minute walk most days is about 150 minutes of movement a week, which is the amount of moderate activity most health guidelines recommend for adults. It’s easy on your body. Walking is low impact, so it’s a great fit if you’re just getting started, coming back after a break or carrying extra weight. It helps with stress. A walk outside is one of the simplest ways to clear your head, and lower stress can make it easier to stick with healthy habits. It helps after meals. A short walk after eating is a nice way to feel less sluggish and support healthy digestion. One honest note: walking works best as part of the bigger picture. Pair it with filling, protein-rich meals, enough sleep and a little strength training, and you’ll feel (and see) the difference. Before You Start Shoes: Wear supportive walking or running shoes. Your feet will thank you. Pace: “Easy” means you can sing. “Brisk” means you can talk in full sentences, but you’re breathing a little harder. “Fast” means you can only say a few words at a time. Timer: Any phone timer or a free interval timer app works for the interval days. Warm up and cool down: Start every walk with 3 to 5 minutes at an easy pace and finish with 3 to 5 minutes easy, followed by a quick calf and hip stretch. Check in with your body: If you have joint pain, a health condition or you’re new to exercise, talk to your doctor before you start a new routine. Your 4-Week Walking Plan Aim for five walking days a week. The plan includes two rest or stretch days, so pick whichever days fit your schedule. Can’t get to all five? Do what you can and keep going. Something always beats nothing. Week 1: Build the Habit This week is all about showing up. Keep it comfortable and focus on making walking part of your day. Days 1, 3 and 5: 20-minute brisk walk Days 2 and 4: 15-minute easy walk (after a meal is perfect) Days 6 and 7: Rest or gentle stretching Goal for the week: 5 walks. That’s it! Check them off and celebrate. Week 2: Add a Little Time Now that you’re in the groove, we’ll add a few minutes and introduce your first interval walk. Days 1 and 5: 25-minute brisk walk Day 3: Interval walk, 25 minutes total: 5 minutes easy, then repeat 1 minute fast + 2 minutes brisk five times, then 5 minutes easy Days 2 and 4: 20-minute easy walk Days 6 and 7: Rest or gentle stretching Week 3: Pick Up the Pace This week you’ll walk a little longer and add hills (or stairs) to work your glutes and legs even more. Day 1: 30-minute brisk walk Day 2: 20-minute easy walk Day 3: Interval walk, 30 minutes total: 5 minutes easy, then repeat 2 minutes fast + 2 minutes brisk five times, then 5 minutes easy Day 4: 20-minute easy walk Day 5: 30-minute hill walk: find a hilly route, or add a few rounds of stairs or a treadmill incline Days 6 and 7: Rest, stretching or a longer, easy stroll with a friend Week 4: Own It Look at you! This week brings your longest walk and your toughest intervals. Go at your own pace and be proud of how far you’ve come. Day 1: 35-minute brisk walk Day 2: 20-minute easy walk Day 3: Interval walk, 30 minutes total: 5 minutes easy, then repeat 3 minutes fast + 1 minute brisk five times, then 5 minutes easy Day 4: 25-minute easy walk Day 5: 45-minute long walk at a brisk pace, with a playlist or podcast you love Days 6 and 7: Rest or gentle stretching Your plan at a glance (screenshot this!): Week 1: 5 walks, 15 to 20 minutes each Week 2: 5 walks, 20 to 25 minutes, plus 1 interval day Week 3: 5 walks, 20 to 30 minutes, plus intervals and hills Week 4: 5 walks, 20 to 45 minutes, including your longest walk yet Walking Form Tips Good form helps you walk faster, longer and more comfortably: Stand tall: Head up, eyes forward, shoulders relaxed and down away from your ears. Use your arms: Bend your elbows to about 90 degrees and let your arms swing naturally from your shoulders. It helps you pick up the pace. Land softly: Strike with your heel and roll through to your toes. Squeeze your core and glutes: A gentle squeeze keeps your posture strong and gets your booty working. Take quicker steps, not longer ones: To speed up, step more often instead of reaching your legs out farther. Make Walking Easier When the Days Get Shorter With the sun setting earlier, it’s easy to let walks slide. A few ideas to keep you moving: Go when it’s light: A walk at lunchtime or first thing in the
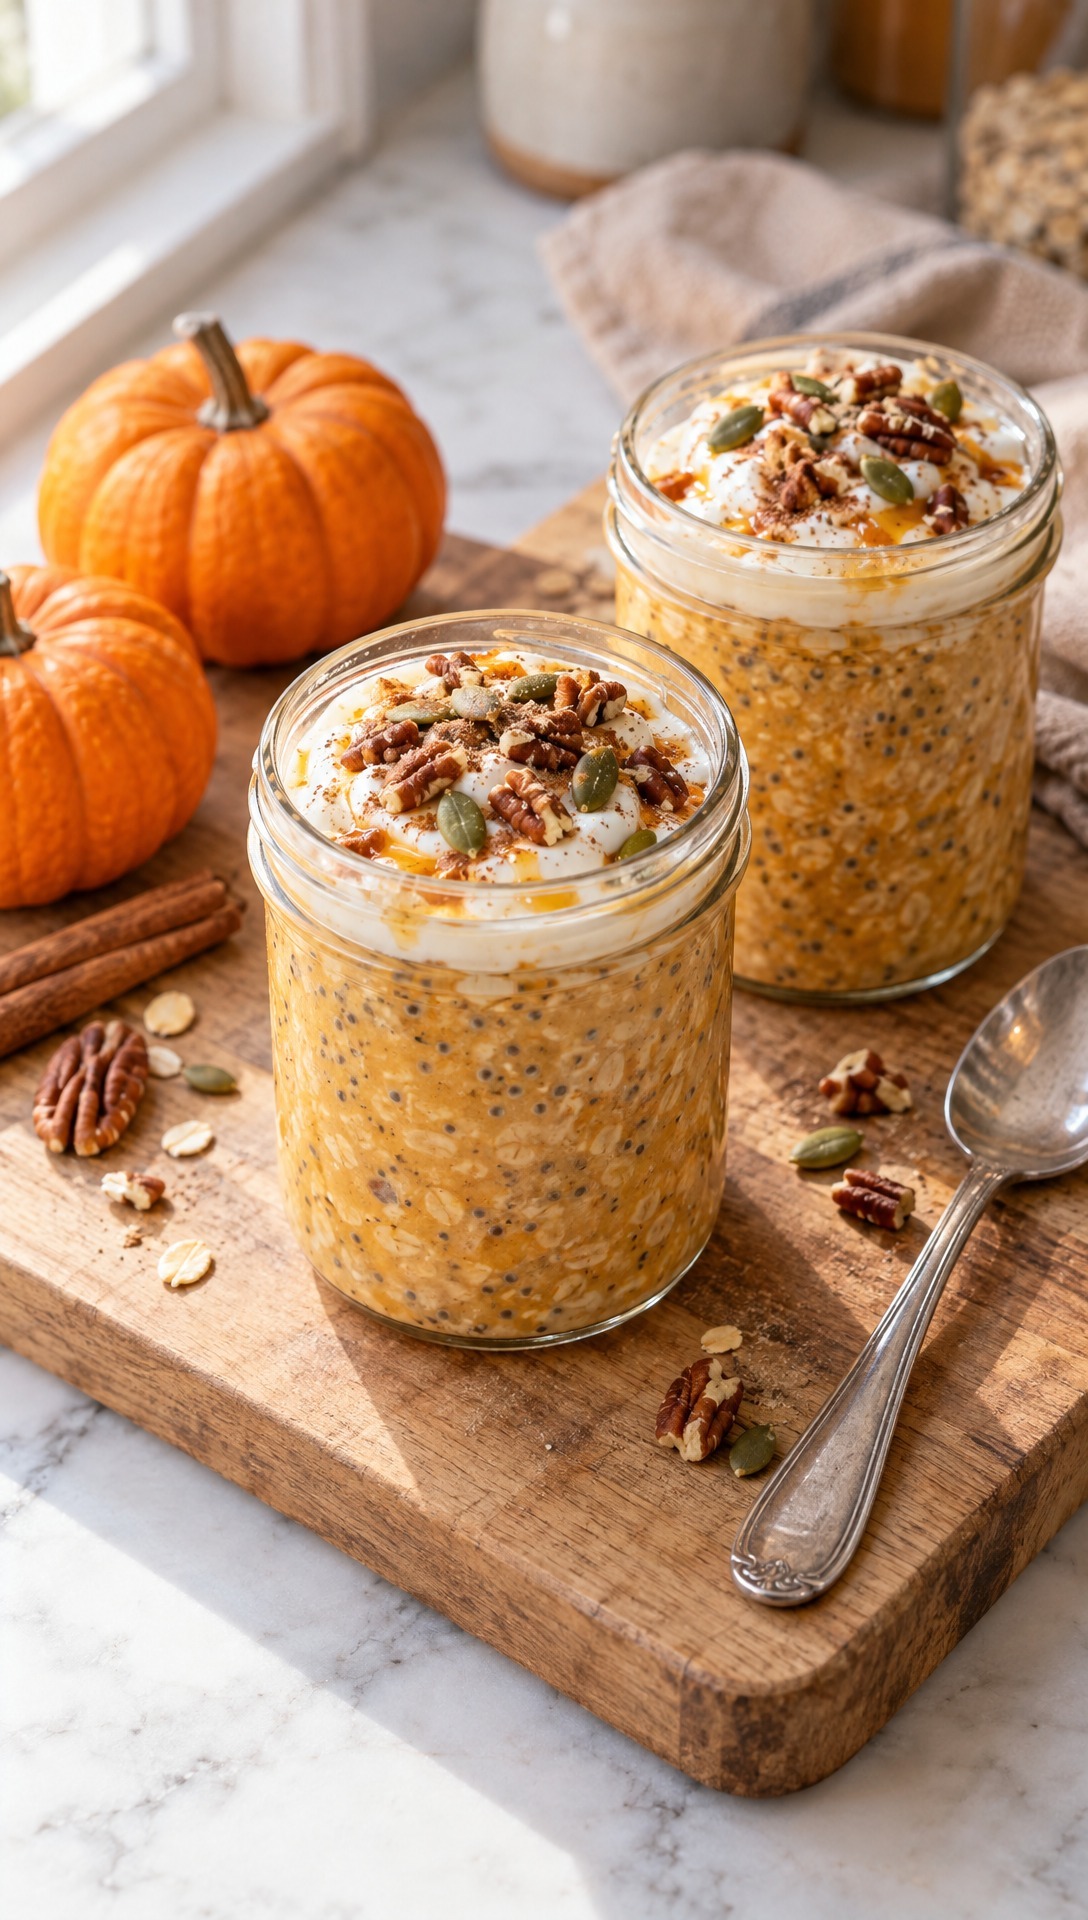
Pumpkin pie in a jar! These creamy overnight oats pack about 31g of protein from Greek yogurt and vanilla protein powder. Stir them together tonight and breakfast is waiting.
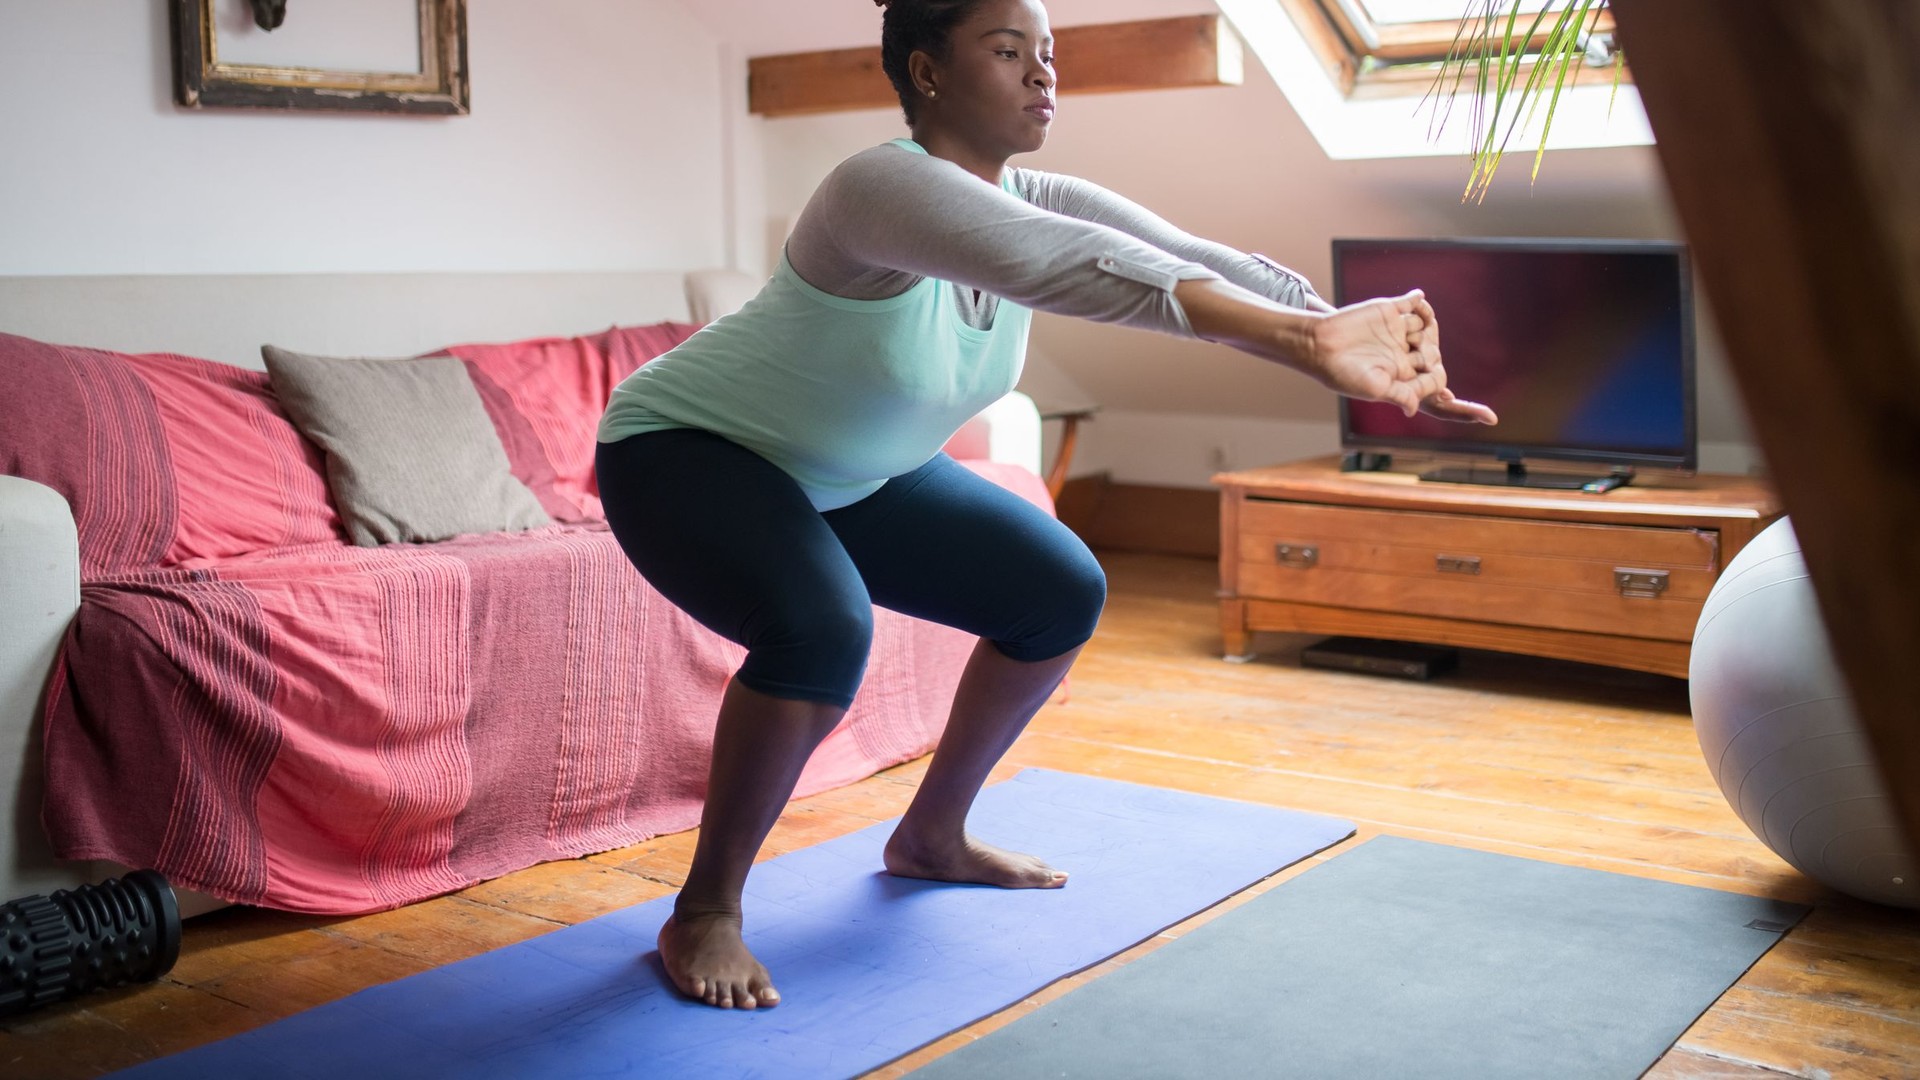
When the clocks fall back, motivation can dip, and that’s okay. Here are simple tweaks to keep your workouts, meals and self-care on track all season long.