





Best Hip Dips Workout for Toned Hips and Glutes
Are you looking for a workout that will help you tone your hips and glutes? Look no further, because we have the best hip dips workout for you.
This targeted exercise routine is designed to specifically target and strengthen the muscles around your hips, giving you a firmer and more defined look. Whether you’re aiming to fill in those pesky hip dips or simply want to sculpt your lower body, this workout is perfect for you.
Get ready to feel the burn and achieve the toned hips and glutes you’ve always dreamed of. Let’s get started!
Understanding Hip Dips
What are hip dips?
Hip dips, also known as violin hips or high hip bones, refer to the inward curve that appears on the outer hips just below the hip bone. This natural indentation can be more pronounced in some individuals, creating a dip or hollow between the hip bone and the top of the thigh. Hip dips are caused by the shape and structure of the pelvis, specifically the position and alignment of the hip bones and the attachment of the muscles in that area.
Why do hip dips occur?
Hip dips occur due to the underlying structure of an individual’s body, specifically the shape and width of their hips. The hip bones, or iliac crest, can have varying shapes and angles, which can influence the appearance of hip dips. Additionally, the attachment of the muscles in the hip region can contribute to the dips, as well as factors such as body fat distribution and genetics.
Can hip dips be changed?
While it is not possible to completely eliminate hip dips, it is possible to minimize their appearance and enhance the surrounding muscles for a more balanced look. Through targeted exercises, individuals can tone and strengthen their hips and glutes, which can help fill in the area around the hip dips and enhance overall body symmetry.
Importance of Targeting Hips and Glutes
Benefits of toning hips and glutes
Toning the hips and glutes offers a range of benefits beyond simply addressing hip dips. Firstly, strengthening these muscle groups can help improve overall stability and balance, as the hips and glutes are key players in maintaining upright posture and providing support during movements. Additionally, toned and strengthened hips and glutes can enhance athletic performance, as these muscles play a crucial role in activities such as running, jumping, and squatting.
Enhanced aesthetics and body symmetry
Targeting the hips and glutes can significantly improve the aesthetics of the body. Through specific exercises that promote muscle growth and definition, individuals can create a more rounded and sculpted look in the hip and glute area. This can enhance body symmetry and create a more balanced overall appearance.
Improved overall strength and stability
Focusing on the hips and glutes in your workout routine can lead to improved strength and stability throughout the entire body. These muscles are responsible for generating power and supporting movements in the lower body, which can positively impact activities such as lifting, walking, and climbing stairs. By consistently targeting and conditioning the hips and glutes, individuals can experience increased functional strength and improved overall fitness.
Exercises to Tone Your Hips and Glutes
Squats
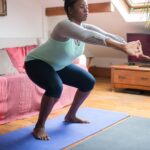
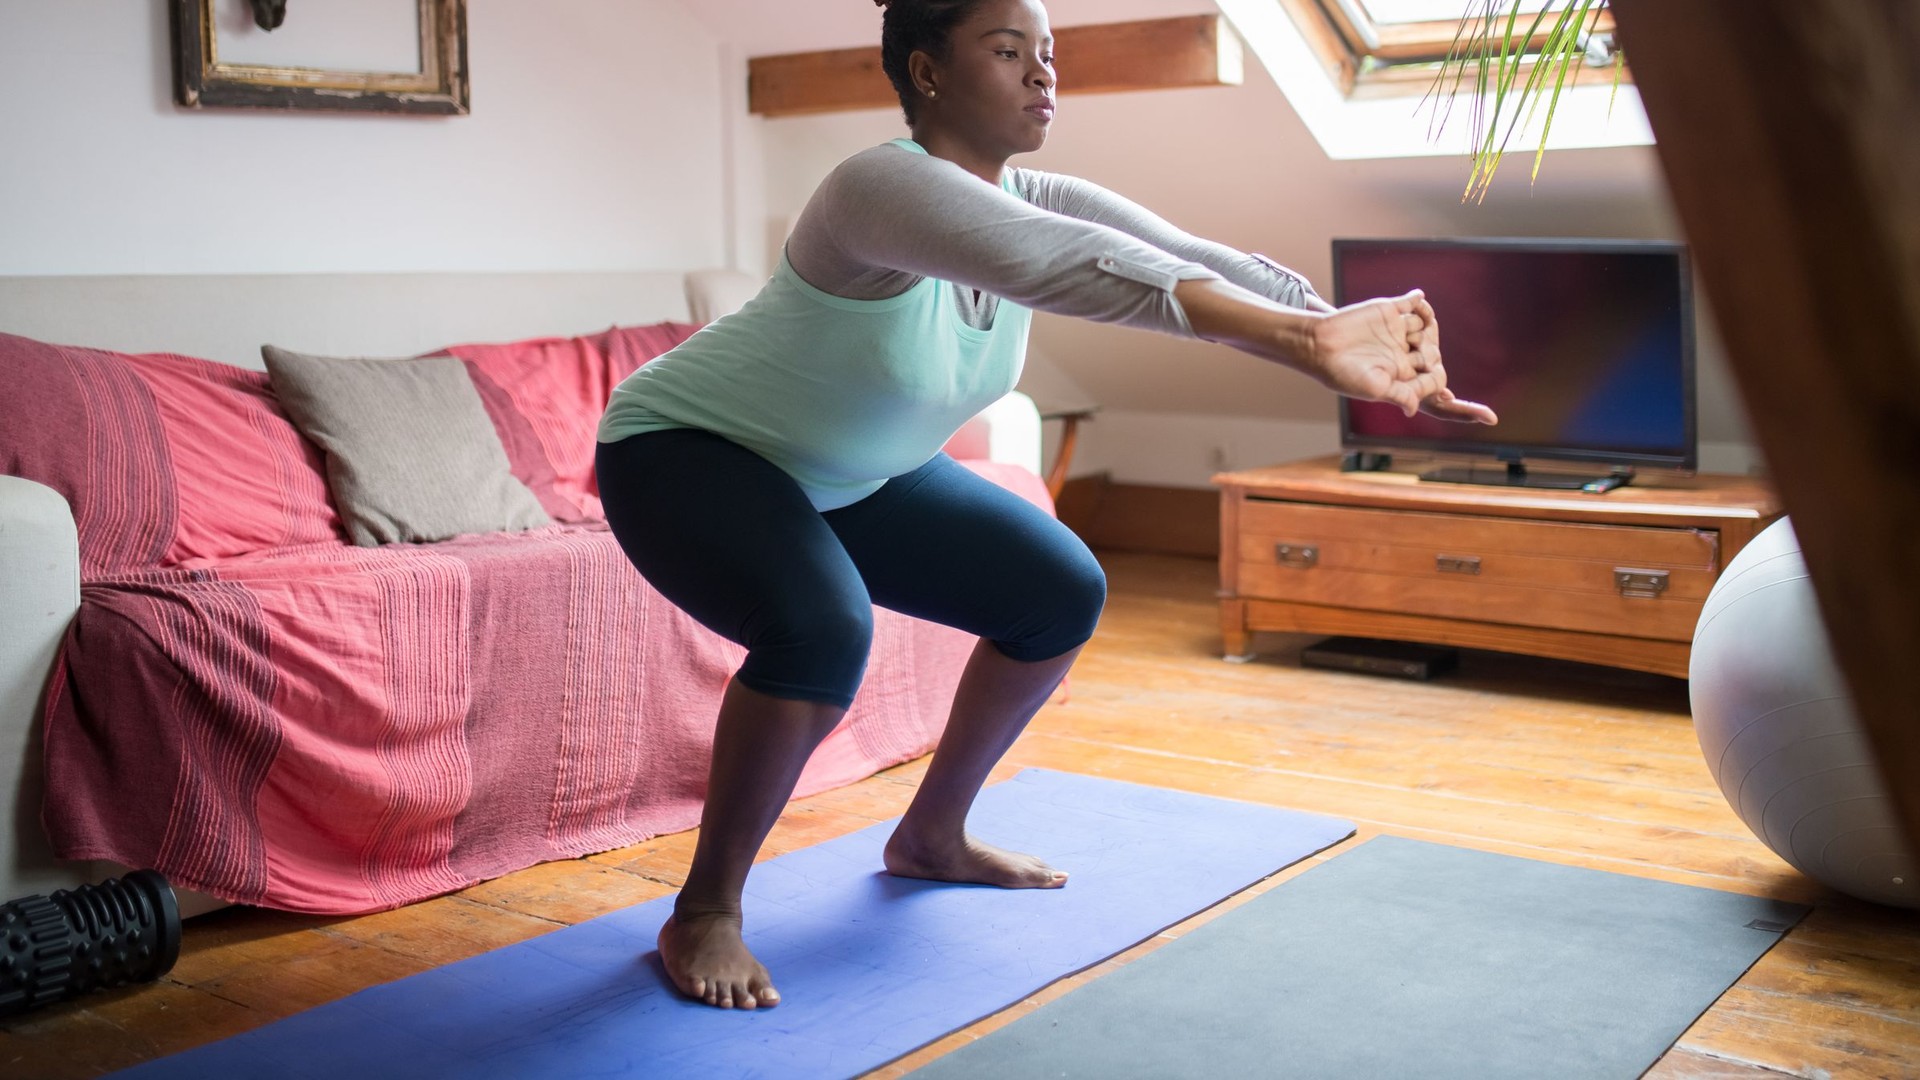
Squats are one of the most effective exercises for targeting the hips and glutes. To perform a squat, stand with your feet shoulder-width apart, engage your core, and lower your body as if sitting back into a chair. Maintaining proper form, push through your heels to return to the starting position. Squats can be modified and progressed based on your fitness level, such as adding weight or performing jump squats for extra intensity.
Lunges
Lunges are another excellent exercise for toning the hips and glutes. Start by standing with your feet hip-width apart, take a step forward with one leg, and lower your body until both knees are at a 90-degree angle. Push through your front heel to return to the starting position, and repeat on the opposite leg. Lunges can be performed in various directions, such as forward, backward, or to the side, to target different muscles in the hips and glutes.
Hip thrusts
Hip thrusts specifically target the glute muscles and can help create roundness and definition in the hips and buttocks. To perform a hip thrust, sit on the ground with your upper back supported by a bench or step, and place a barbell or weight across your hips. Engaging your glutes, lift your hips off the ground until your body forms a straight line from your knees to your shoulders. Lower back down and repeat for the desired number of repetitions.
Fire hydrants
Fire hydrants are a fun and effective exercise for targeting the outer hips and glutes. Start on all fours with your hands directly below your shoulders and your knees below your hips. Keeping your core engaged, lift one leg out to the side, maintaining a 90-degree angle at the knee. Return to the starting position and repeat on the opposite leg. Fire hydrants can be performed with or without resistance bands for added intensity.
Donkey kicks
Donkey kicks are a great exercise for targeting the glutes and improving overall hip strength. Begin on all fours with your hands beneath your shoulders and your knees under your hips. Keeping your core engaged, lift one leg up and back, keeping a 90-degree angle at the knee. Squeeze your glutes at the top of the movement, then lower back down and repeat on the opposite leg. Donkey kicks can be modified by adding ankle weights or using resistance bands.
Side leg lifts
Side leg lifts are an effective exercise for targeting the outer hips and strengthening the glutes. Begin by lying on one side with your legs stacked and your upper body supported by your bottom forearm. Engaging your core, lift the top leg as high as possible while maintaining control and proper form. Lower the leg back down and repeat for the desired number of repetitions before switching to the other side. Side leg lifts can be modified by using ankle weights or resistance bands for added resistance.
Clamshells
Clamshells primarily target the muscles in the hip and can help strengthen and shape the area around the hip dips. Start by lying on your side with your legs bent at a 90-degree angle, and your feet together. Keeping your core engaged, open your top knee as far as comfortable, then close it back down. Repeat for the desired number of repetitions before switching to the other side. To increase the challenge, resistance bands can be placed around the thighs.
Bridges
Bridges are a classic exercise that targets the hips and glutes while also engaging the core and lower back muscles. Begin by lying on your back with your knees bent and your feet flat on the ground. Pressing through your heels, lift your hips off the ground until your body forms a straight line from your knees to your shoulders. Hold for a few seconds, then lower back down and repeat. Bridges can be modified by using a stability ball or adding weights for increased difficulty.
Step-ups
Step-ups are a functional exercise that targets the hips, glutes, and thighs. To perform a step-up, stand in front of a step or bench with one foot on top. Push through the heel of the foot on top to lift your body onto the step, then lower back down and repeat on the same leg. Complete the desired number of repetitions before switching to the other leg. Step-ups can be modified by increasing the height of the step or adding dumbbells or weight.
Plank variations
While planks are commonly associated with core strength, certain variations can also engage the hips and glutes. One such variation is the side plank, which targets the obliques and outer hip muscles. Start by lying on your side with your legs extended and your forearm directly beneath your shoulder. Lift your hips off the ground, forming a straight line from your head to your feet. Hold for a few seconds, then lower back down and repeat on the other side. Other plank variations that engage the hips and glutes include the plank with leg lifts and the plank with hip dips.
Creating a Workout Routine
Setting realistic goals
When creating a workout routine to target the hips and glutes, it is important to set realistic and achievable goals. Consider your current fitness level and any time constraints you may have, and set goals that align with your abilities and availability. Whether you aim to increase strength, shape your hips, or improve overall stability, establishing clear goals can help guide your workout routine and keep you motivated.
Choosing the appropriate exercises
When choosing exercises to include in your hip dips workout routine, it is important to select those that specifically target the hips and glutes. Incorporate a mixture of exercises that focus on different muscle groups within these areas to ensure a balanced workout. Consider your individual preferences and abilities when selecting exercises, and feel free to experiment with different variations to keep your routine engaging and enjoyable.
Determining the frequency and duration
The frequency and duration of your hip dips workout routine will depend on your fitness level and personal preferences. However, to see noticeable results, it is generally recommended to perform targeted hip and glute exercises at least two to three times per week. Aim for a duration of 30 to 60 minutes per workout session. As you progress, you can gradually increase the frequency and duration to continue challenging and stimulating your muscles.
Warming up and cooling down
Before starting your hip dips workout routine, it is crucial to warm up your muscles and prepare your body for exercise. Spend a few minutes performing dynamic stretches and movements that activate the muscles in the hips and glutes. This can include exercises such as leg swings, hip circles, or walking lunges. After your workout, take the time to cool down and stretch the muscles you targeted. This can help prevent muscle soreness and promote flexibility and recovery.
Progressive overload and variation
To see consistent progress and results in your hip dips workout routine, it is important to incorporate progressive overload and variation. Progressive overload involves gradually increasing the intensity of your workouts by adding weight, adding repetitions, or increasing the resistance. This challenges your muscles and encourages them to adapt and grow stronger over time. Additionally, incorporating variation in your exercises can help prevent plateaus and keep your workouts interesting and effective.
Proper Form and Technique
Understanding correct posture
Maintaining proper posture is essential when performing hip and glute exercises to ensure optimal engagement of the targeted muscles and minimize the risk of injury. During exercises such as squats, lunges, and bridges, keep your spine neutral and your chest lifted. Avoid rounding your back or hunching your shoulders. Proper posture involves engaging the core muscles and aligning the entire body from head to toe.
Engaging the right muscles
To get the most out of your hip dips workout, it is crucial to engage the correct muscles during each exercise. Focus on activating the hips and glutes by squeezing these muscles throughout the movement. For example, during squats, push through your heels and use the glutes to drive your body back up. Mind-muscle connection is key in ensuring that you are effectively targeting the desired muscle groups.
Avoiding common mistakes
When performing hip and glute exercises, it is important to avoid common mistakes that can hinder your progress or increase the risk of injury. One common mistake is allowing your knees to collapse inward during exercises such as squats and lunges. This can place excessive strain on the knee joints and decrease the activation of the hip muscles. Another mistake is using momentum or relying on other muscle groups to complete the movement, rather than focusing on the targeted muscles.
Incorporating proper breathing
Proper breathing technique is often overlooked but is crucial in maximizing the effectiveness of your hip dips workout routine. During strength exercises, such as squats and lunges, exhale as you exert force and inhale during the eccentric or lowering phase. This helps stabilize your core and provide a supportive breath. Breathing mindfully also helps you stay focused and present during your workouts.
Utilizing equipment and props
While many hip and glute exercises can be performed with just your body weight, utilizing equipment and props can add variety and challenge to your workouts. Resistance bands, dumbbells, and ankle weights can be used to increase the intensity of exercises such as squats, lunges, and donkey kicks. Additionally, exercise balls or stability balls can be utilized during exercises like bridges or side leg lifts to engage the core and challenge stability.
Additional Tips for Effective Hip Dips Workout
Incorporating cardio exercises
In addition to targeted hip and glute exercises, incorporating cardiovascular exercises into your routine can enhance the overall effectiveness of your hip dips workout. Engaging in activities such as jogging, cycling, or swimming can help burn excess calories and promote overall fat loss. This can contribute to a leaner, more sculpted appearance in the hips and glutes.
Incorporating resistance training
Resistance training, even aside from targeted hip and glute exercises, can greatly benefit your overall fitness and body composition goals. Including exercises that target other muscle groups, such as the upper body or core, can lead to improved strength and stability. This holistic approach to fitness ensures that your entire body is balanced and functioning optimally.
Using weights and resistance bands
Incorporating weights and resistance bands into your hip dips workout routine can add an extra challenge and stimulate muscle growth. Gradually increasing the weight or resistance over time can help you progress and see continual improvements. However, it is important to start with light weights or resistance and gradually increase as you become more comfortable and proficient in the exercises.
Maintaining a balanced diet
While exercise is a key component in achieving toned hips and glutes, it is important to remember that overall lifestyle factors, such as diet, play a significant role as well. To support your fitness goals, maintain a balanced and nutritious diet that includes a variety of fruits, vegetables, lean proteins, whole grains, and healthy fats. Stay hydrated and avoid excessive consumption of processed foods or sugary drinks, as these can interfere with progress and impact overall health.
Staying consistent and patient
Achieving toned hips and glutes takes time and consistent effort. It is important to stay patient and not get discouraged if immediate results are not visible. Focus on the process rather than instant gratification. By staying consistent with your workout routine and maintaining a healthy lifestyle, you will gradually see improvements in muscle tone, body composition, and overall well-being.
Modifications for Different Fitness Levels
Beginner modifications
If you are new to exercising or have limited experience, it is important to start slowly and gradually increase the intensity and duration of your workouts. Begin with bodyweight exercises and focus on mastering proper form and technique. You can also perform modified versions of exercises, such as squats with a chair for added stability or assisted lunges with a resistance band.
Intermediate progressions
As you become more comfortable and proficient with the exercises, you can start incorporating more challenging variations and progressions. This can include increasing the weight or resistance used, adding plyometric movements such as jump squats or lunge jumps, or performing exercises on an unstable surface like a Bosu ball. Continually challenging yourself with new variations and intensities is key to continue seeing progress and avoiding plateaus.
Advanced variations
For individuals with a high fitness level and significant exercise experience, advanced variations of hip and glute exercises can provide additional challenge and benefits. This can include exercises such as pistol squats, single-leg deadlifts, or Bulgarian split squats with heavy weights. Advanced variations often require a high level of balance, stability, and strength, so it is important to progress gradually and listen to your body to avoid injury.
Tailoring the workout to individual needs
Everyone’s body is unique, and it is important to tailor your hip dips workout routine to your individual needs and goals. Pay attention to how your body responds to certain exercises and adjust accordingly. If certain exercises cause discomfort or pain, seek alternatives that target the same muscle groups. Additionally, focus on areas of weakness or imbalances in your body and include exercises that address specific needs and improve overall symmetry.
Seeking professional guidance if needed
If you are unsure about proper form, technique, or how to create an effective hip dips workout routine, it may be beneficial to seek professional guidance. A personal trainer or fitness instructor with experience in strength training and body shaping can provide valuable guidance and ensure you are performing exercises correctly and safely. They can also customize a workout plan that aligns with your specific goals and fitness level.
Safety Considerations
Listening to your body
When engaging in any exercise routine, it is crucial to listen to your body and pay attention to any signs of discomfort or pain. Push yourself, but know your limits and avoid overexertion. Modify or skip exercises if they cause pain or aggravate existing injuries. Rest and recover when needed, as adequate rest is essential for muscle growth and injury prevention.
Avoiding overexertion and injury
While it is important to challenge yourself in your hip dips workout routine, it is equally important to avoid overexertion and excessive strain on the body. Gradually increase the intensity and duration of your workouts to allow your muscles and joints to adapt. Avoid pushing through sharp or intense pain, as this can lead to injury. It is essential to find a balance between challenging yourself and preventing overuse or acute injuries.
Using proper equipment and surfaces
Using proper equipment and exercising on appropriate surfaces can greatly minimize the risk of injuries during your hip dips workout routine. Wear supportive footwear that provides stability and cushions the impact on your joints. If using weights or resistance bands, ensure they are securely fastened and in good condition. Also, perform exercises on a stable and non-slip surface to minimize the risk of slips, trips, and falls.
Seeking medical advice when necessary
If you have any pre-existing medical conditions, injuries, or concerns, it is important to consult with a healthcare professional before starting a new workout routine to address your hip dips. They can provide guidance and ensure that exercises you engage in are safe and appropriate for your specific situation. Always follow medical advice and make any necessary modifications to your workout routine to accommodate your individual needs.
Gradual progression and gradual overload
Gradually increasing the intensity and difficulty of your hip dips workout routine is crucial for safe and effective progress. Avoid making sudden jumps in weight or resistance and allow your body time to adapt and recover. Gradual progression not only reduces the risk of injury but also ensures that your muscles are continually challenged and stimulated for growth and improvement.
Tracking and Monitoring Progress
Keeping a workout journal
Keeping a workout journal is a useful tool for tracking and monitoring your progress in your hip dips workout routine. Record the exercises you perform, the number of sets and repetitions, the weights or resistance used, and any additional notes or observations. This allows you to identify patterns, note improvements, and make adjustments to your routine as needed. A workout journal also serves as a source of motivation and a way to hold yourself accountable.
Taking measurements and photos
To visually track your progress in toning your hips and glutes, consider taking measurements and photos at regular intervals. Measure the circumference of your hips and buttocks, as well as the height of your hip dips, using a flexible tape measure. Take front, side, and back photos in consistent lighting and angles to objectively assess changes in muscle tone and overall body composition over time.
Tracking strength and flexibility improvements
In addition to visual changes, tracking improvements in strength and flexibility can be an effective way to monitor progress. Keep track of the weights, resistance, or variations used for each exercise, and note any advancements or improvements. Measure your range of motion in exercises such as squats or lunges to assess improvements in hip and lower body flexibility. Celebrate even the smallest milestones and use them as motivation to continue challenging yourself.
Adjusting the workout routine as needed
As your fitness level and goals evolve, it is important to adjust your hip dips workout routine accordingly. Once you have mastered certain exercises, consider progressing to more challenging variations or increasing weights or resistance. If certain exercises are no longer challenging or no longer align with your goals, replace them with new exercises that target the specific areas you want to work on. Regularly evaluating and adjusting your routine ensures continued progress and prevents stagnant results.
Celebrating milestones and achievements
The journey to achieve and maintain toned hips and glutes is ongoing. It is important to continuously challenge yourself with new exercises, variations, and intensities. Seek continual self-improvement, but also remember to appreciate and celebrate each step along the way.
Conclusion
Importance of consistency and dedication
Achieving toned hips and glutes, and minimizing the appearance of hip dips, requires consistency and dedication. Regularly engaging in targeted exercises and maintaining a healthy lifestyle will yield the best results over time.
Achieving toned hips and glutes
By targeting the hips and glutes with a combination of exercises that focus on these muscle groups, individuals can achieve a more toned and sculpted appearance in the hip and buttock area. Through progressive overload and a balanced approach to exercise, improvements in muscle strength, definition, and body symmetry can be achieved.
Embracing and loving your body
It is important to remember that every body is unique, and hip dips are a natural part of many individuals’ anatomies. Embrace and love your body for what it is, recognizing that physical appearance does not define your worth or beauty. Focus on the journey of self-improvement and prioritize overall health and well-being.
Maintaining a healthy overall lifestyle
While targeted exercise is crucial for achieving toned hips and glutes, maintaining a healthy overall lifestyle is equally important. This includes following a balanced diet, staying hydrated, getting enough sleep, managing stress levels, and incorporating other forms of physical activity and self-care into your routine. By prioritizing your overall well-being, you will promote optimal results and sustain long-term success.
Continuous self-improvement
The journey to achieve and maintain toned hips and glutes is ongoing. It is important to continuously challenge yourself with new exercises, variations, and intensities. Seek continual self-improvement, but also remember to appreciate and celebrate each step along the way.
With consistency, dedication, and
a positive mindset, you can achieve the
desired results and enjoy a healthier and
more confident version of yourself.
Share:
Related Posts

High-Protein Turkey Taco Skillet
High-Protein Turkey Taco Skillet Pin Print High-Protein Turkey Taco Skillet Serving 4 servingsPrep time 10 minutesCooking time 20 minutesCalories 430 kcal Taco night just got a high-protein glow-up, ladies! This High-Protein Turkey Taco Skillet has everything you love about tacos (seasoned meat, beans, corn, peppers and melty cheese) all made in one pan in about 30 minutes. Each serving has around 36 grams of protein and plenty of fiber, so it actually keeps you full. Scoop it into tortillas, pile it on a salad, serve it over rice or eat it straight from a bowl. It also makes amazing meal-prep lunches for the week. 🛒 Ingredients 1 tablespoon olive oil 1 lb 93% lean ground turkey 1 small yellow onion, diced 1 red or green bell pepper, diced 2 cloves garlic, minced 2 tablespoons reduced-sodium taco seasoning (or 1 packet) 1 can (15 oz) pinto or black beans, drained and rinsed 1 can (10 oz) diced tomatoes with green chiles, undrained 1 cup frozen or canned corn (drained) 1/2 cup water or low-sodium chicken broth 3/4 cup shredded reduced-fat Mexican-style cheese 1/2 cup plain nonfat Greek yogurt (for topping, instead of sour cream) Fresh cilantro, sliced green onions and lime wedges, for serving Optional for serving: high-fiber tortillas, brown rice, cauliflower rice, romaine lettuce cups, sliced avocado or salsa 👩🏻🍳 Instructions Brown the Turkey: Heat the olive oil in a large (12-inch) skillet over medium-high heat. Add the ground turkey and cook for 5 to 6 minutes, breaking it into small crumbles, until browned and no longer pink. Add the Veggies: Add the onion and bell pepper and cook for 3 to 4 minutes, until softened. Stir in the garlic and cook for 30 seconds, until fragrant. Season: Sprinkle in the taco seasoning and stir until the turkey and veggies are evenly coated. Simmer: Add the beans, diced tomatoes with green chiles (with their juices), corn and water or broth. Bring to a simmer, then lower the heat to medium-low and cook for 6 to 8 minutes, stirring now and then, until the sauce thickens. Get Melty: Sprinkle the cheese evenly over the top, cover the skillet and cook for 1 to 2 minutes, until the cheese melts. Top and Serve: Finish with a dollop of Greek yogurt, fresh cilantro, green onions and a squeeze of lime. Serve on its own or with your favorite taco fixings. Nutritional Information A Quick Note: The following nutritional information is an estimate for 1 serving (1/4 of the skillet) including 2 tablespoons of Greek yogurt, without tortillas, rice or avocado. Actual values can vary based on the specific brands and ingredients you use. Calories: ~430 kcal Protein: ~36 g Fat: ~17 g Carbohydrates: ~32 g Fiber: ~7 g Sugar: ~6 g Tips & Swaps Swap the protein: Lean ground chicken or 95% lean ground beef work great here, too. Make it gluten-free: Use a taco seasoning labeled gluten-free and serve it in corn tortillas or over rice. Turn up the heat: Add a diced jalapeño with the onion, or use a “hot” can of tomatoes and green chiles. Meal prep: Divide into containers and keep in the fridge for up to 4 days. Add the yogurt and fresh toppings when you’re ready to eat. Freezer friendly: Freeze cooled portions (without toppings) for up to 3 months and reheat on the stove or in the microwave. One pan, 30 minutes and big taco flavor with every bite. Taco Tuesday is officially sorted. Enjoy, ladies! Check out these items! SHOP NOW! SHOP NOW! SHOP NOW! SHOP NOW! SHOP NOW! SHOP NOW! Share: Facebook Pinterest Email SHOP NOW! SHOP NOW! Social Media Facebook-f Youtube Pinterest Instagram Tiktok Most Popular Get The Latest Updates Subscribe To Our Weekly Newsletter No spam, notifications only about new post, updates. Categories Related Posts
Walking for Weight Loss: A 4-Week Plan for Women
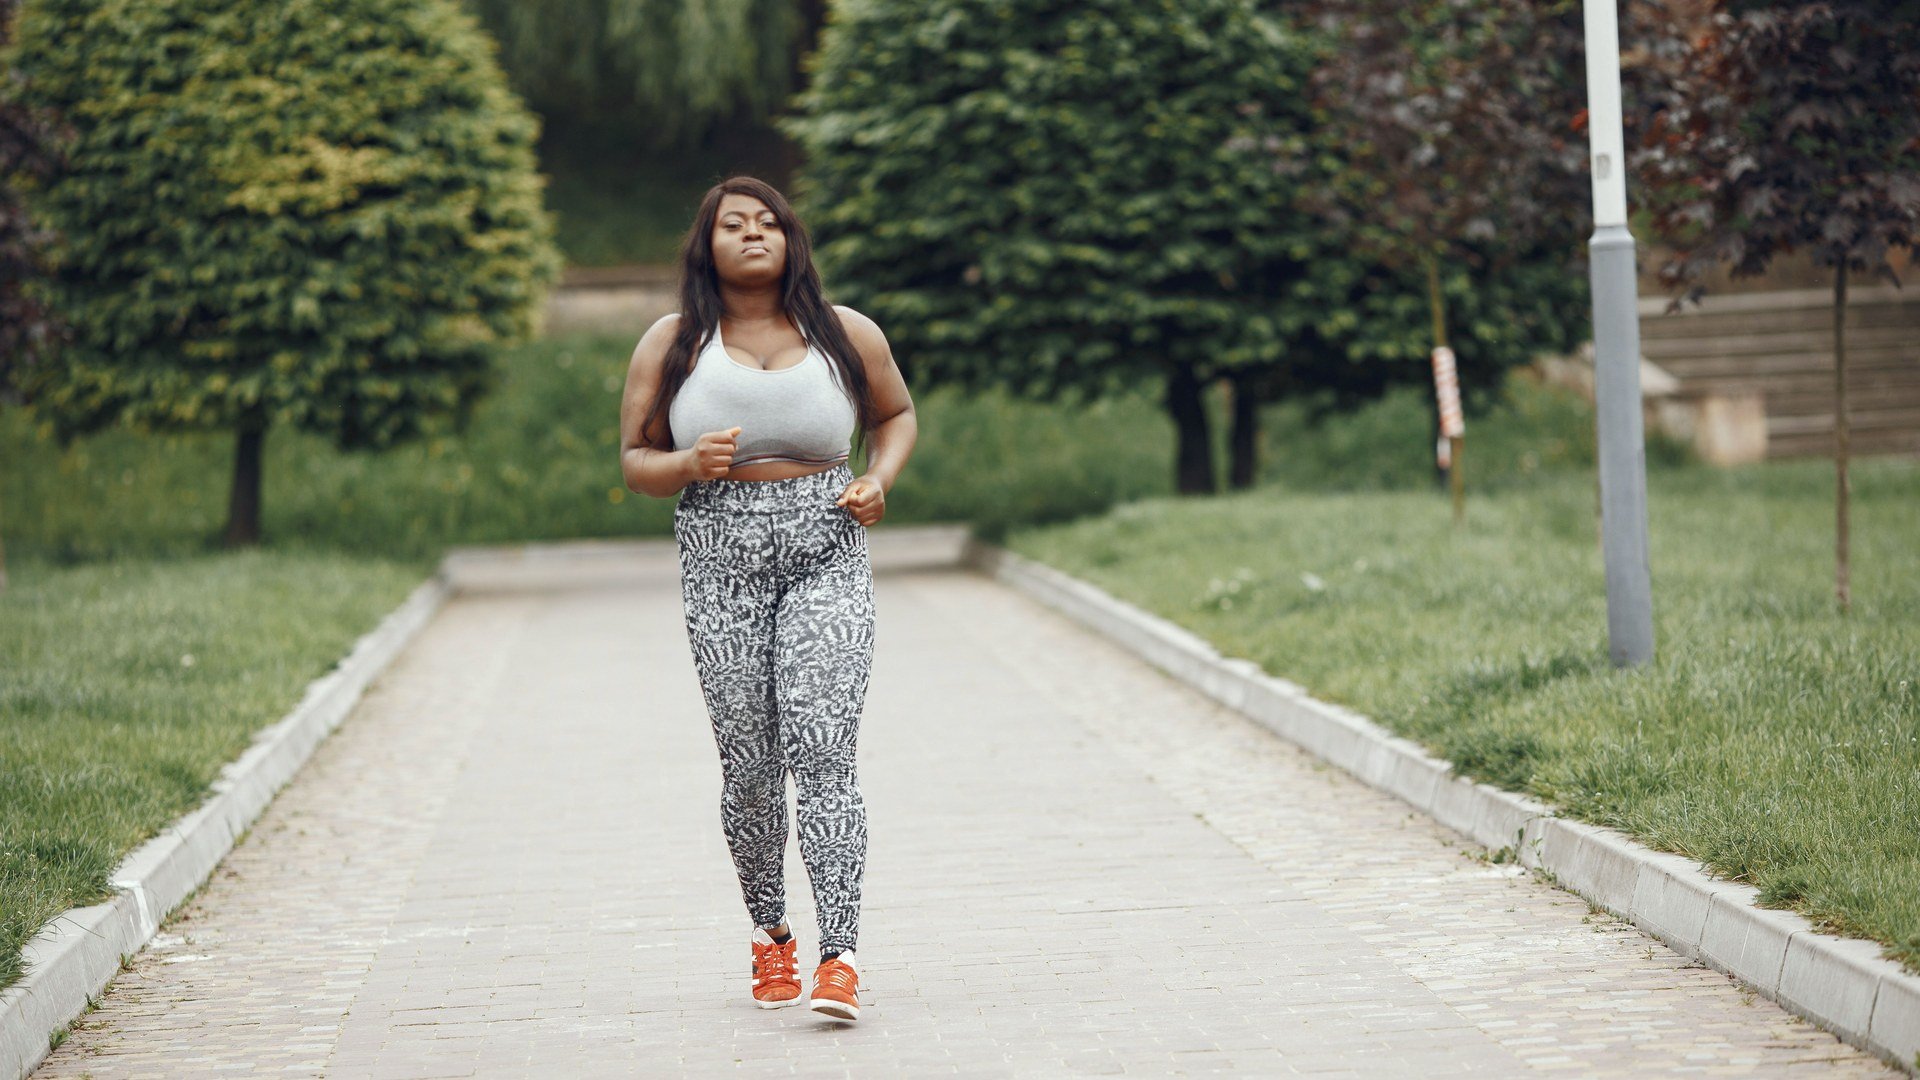
Walking for Weight Loss: A 4-Week Plan for Women Ladies, can we give walking the credit it deserves? It’s free, you already know how to do it, it’s gentle on your joints and you can do it almost anywhere. And when it comes to weight loss, a regular walking habit can make a real difference, especially when you pair it with good food and a little consistency. If you’ve been waiting for the “perfect” time to start moving again, this is your sign. This 4-week walking plan for women starts where you are and builds up week by week, so you’re never thrown into the deep end. No gym, no fancy equipment and no video needed. Just a good pair of shoes, a timer and you. Why Walking Works for Weight Loss Walking burns calories, and because it’s easy to recover from, you can do it most days of the week. That’s the secret: the best workout is the one you’ll actually keep doing. A few more reasons to love it: It adds up fast. A brisk 30-minute walk most days is about 150 minutes of movement a week, which is the amount of moderate activity most health guidelines recommend for adults. It’s easy on your body. Walking is low impact, so it’s a great fit if you’re just getting started, coming back after a break or carrying extra weight. It helps with stress. A walk outside is one of the simplest ways to clear your head, and lower stress can make it easier to stick with healthy habits. It helps after meals. A short walk after eating is a nice way to feel less sluggish and support healthy digestion. One honest note: walking works best as part of the bigger picture. Pair it with filling, protein-rich meals, enough sleep and a little strength training, and you’ll feel (and see) the difference. Before You Start Shoes: Wear supportive walking or running shoes. Your feet will thank you. Pace: “Easy” means you can sing. “Brisk” means you can talk in full sentences, but you’re breathing a little harder. “Fast” means you can only say a few words at a time. Timer: Any phone timer or a free interval timer app works for the interval days. Warm up and cool down: Start every walk with 3 to 5 minutes at an easy pace and finish with 3 to 5 minutes easy, followed by a quick calf and hip stretch. Check in with your body: If you have joint pain, a health condition or you’re new to exercise, talk to your doctor before you start a new routine. Your 4-Week Walking Plan Aim for five walking days a week. The plan includes two rest or stretch days, so pick whichever days fit your schedule. Can’t get to all five? Do what you can and keep going. Something always beats nothing. Week 1: Build the Habit This week is all about showing up. Keep it comfortable and focus on making walking part of your day. Days 1, 3 and 5: 20-minute brisk walk Days 2 and 4: 15-minute easy walk (after a meal is perfect) Days 6 and 7: Rest or gentle stretching Goal for the week: 5 walks. That’s it! Check them off and celebrate. Week 2: Add a Little Time Now that you’re in the groove, we’ll add a few minutes and introduce your first interval walk. Days 1 and 5: 25-minute brisk walk Day 3: Interval walk, 25 minutes total: 5 minutes easy, then repeat 1 minute fast + 2 minutes brisk five times, then 5 minutes easy Days 2 and 4: 20-minute easy walk Days 6 and 7: Rest or gentle stretching Week 3: Pick Up the Pace This week you’ll walk a little longer and add hills (or stairs) to work your glutes and legs even more. Day 1: 30-minute brisk walk Day 2: 20-minute easy walk Day 3: Interval walk, 30 minutes total: 5 minutes easy, then repeat 2 minutes fast + 2 minutes brisk five times, then 5 minutes easy Day 4: 20-minute easy walk Day 5: 30-minute hill walk: find a hilly route, or add a few rounds of stairs or a treadmill incline Days 6 and 7: Rest, stretching or a longer, easy stroll with a friend Week 4: Own It Look at you! This week brings your longest walk and your toughest intervals. Go at your own pace and be proud of how far you’ve come. Day 1: 35-minute brisk walk Day 2: 20-minute easy walk Day 3: Interval walk, 30 minutes total: 5 minutes easy, then repeat 3 minutes fast + 1 minute brisk five times, then 5 minutes easy Day 4: 25-minute easy walk Day 5: 45-minute long walk at a brisk pace, with a playlist or podcast you love Days 6 and 7: Rest or gentle stretching Your plan at a glance (screenshot this!): Week 1: 5 walks, 15 to 20 minutes each Week 2: 5 walks, 20 to 25 minutes, plus 1 interval day Week 3: 5 walks, 20 to 30 minutes, plus intervals and hills Week 4: 5 walks, 20 to 45 minutes, including your longest walk yet Walking Form Tips Good form helps you walk faster, longer and more comfortably: Stand tall: Head up, eyes forward, shoulders relaxed and down away from your ears. Use your arms: Bend your elbows to about 90 degrees and let your arms swing naturally from your shoulders. It helps you pick up the pace. Land softly: Strike with your heel and roll through to your toes. Squeeze your core and glutes: A gentle squeeze keeps your posture strong and gets your booty working. Take quicker steps, not longer ones: To speed up, step more often instead of reaching your legs out farther. Make Walking Easier When the Days Get Shorter With the sun setting earlier, it’s easy to let walks slide. A few ideas to keep you moving: Go when it’s light: A walk at lunchtime or first thing in the
High-Protein Pumpkin Spice Overnight Oats
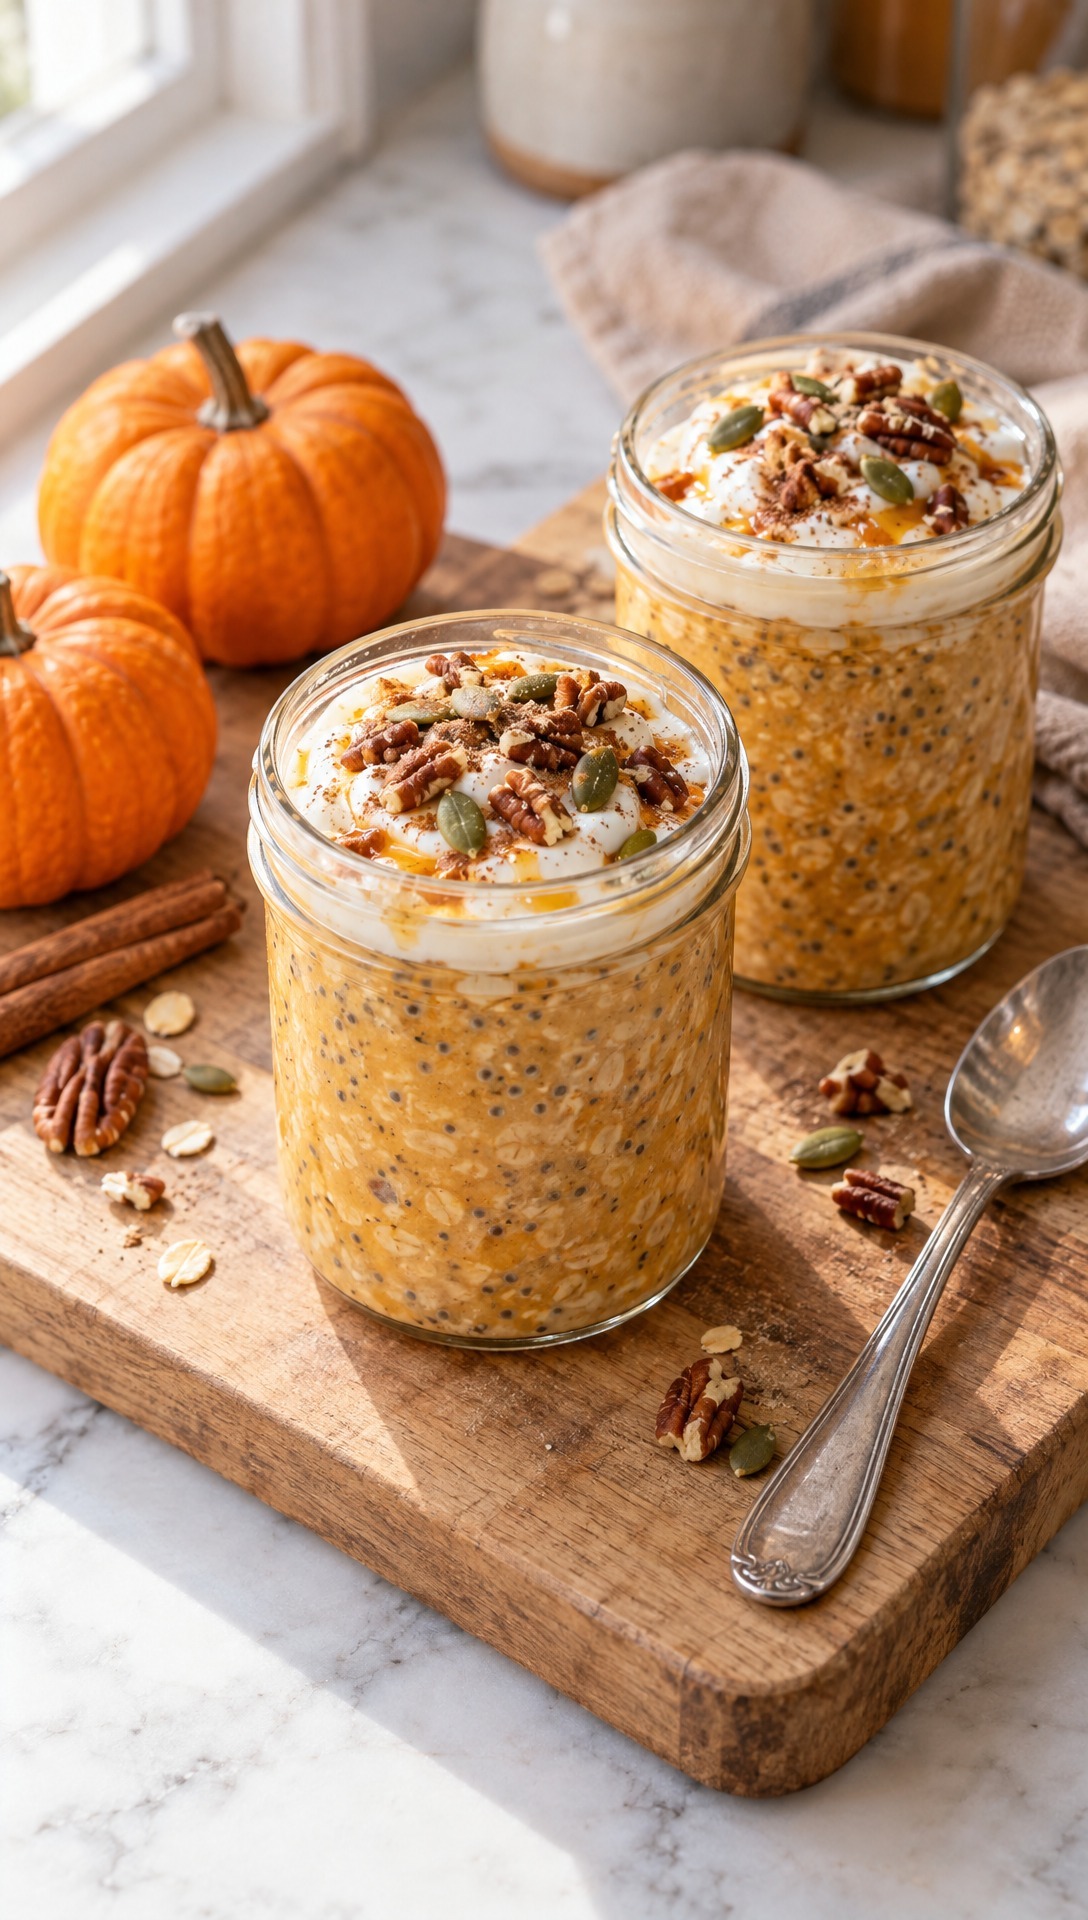
Pumpkin pie in a jar! These creamy overnight oats pack about 31g of protein from Greek yogurt and vanilla protein powder. Stir them together tonight and breakfast is waiting.
Fall Back Without Falling Off: How to Stay Consistent When the Clocks Change
When the clocks fall back, motivation can dip, and that’s okay. Here are simple tweaks to keep your workouts, meals and self-care on track all season long.


