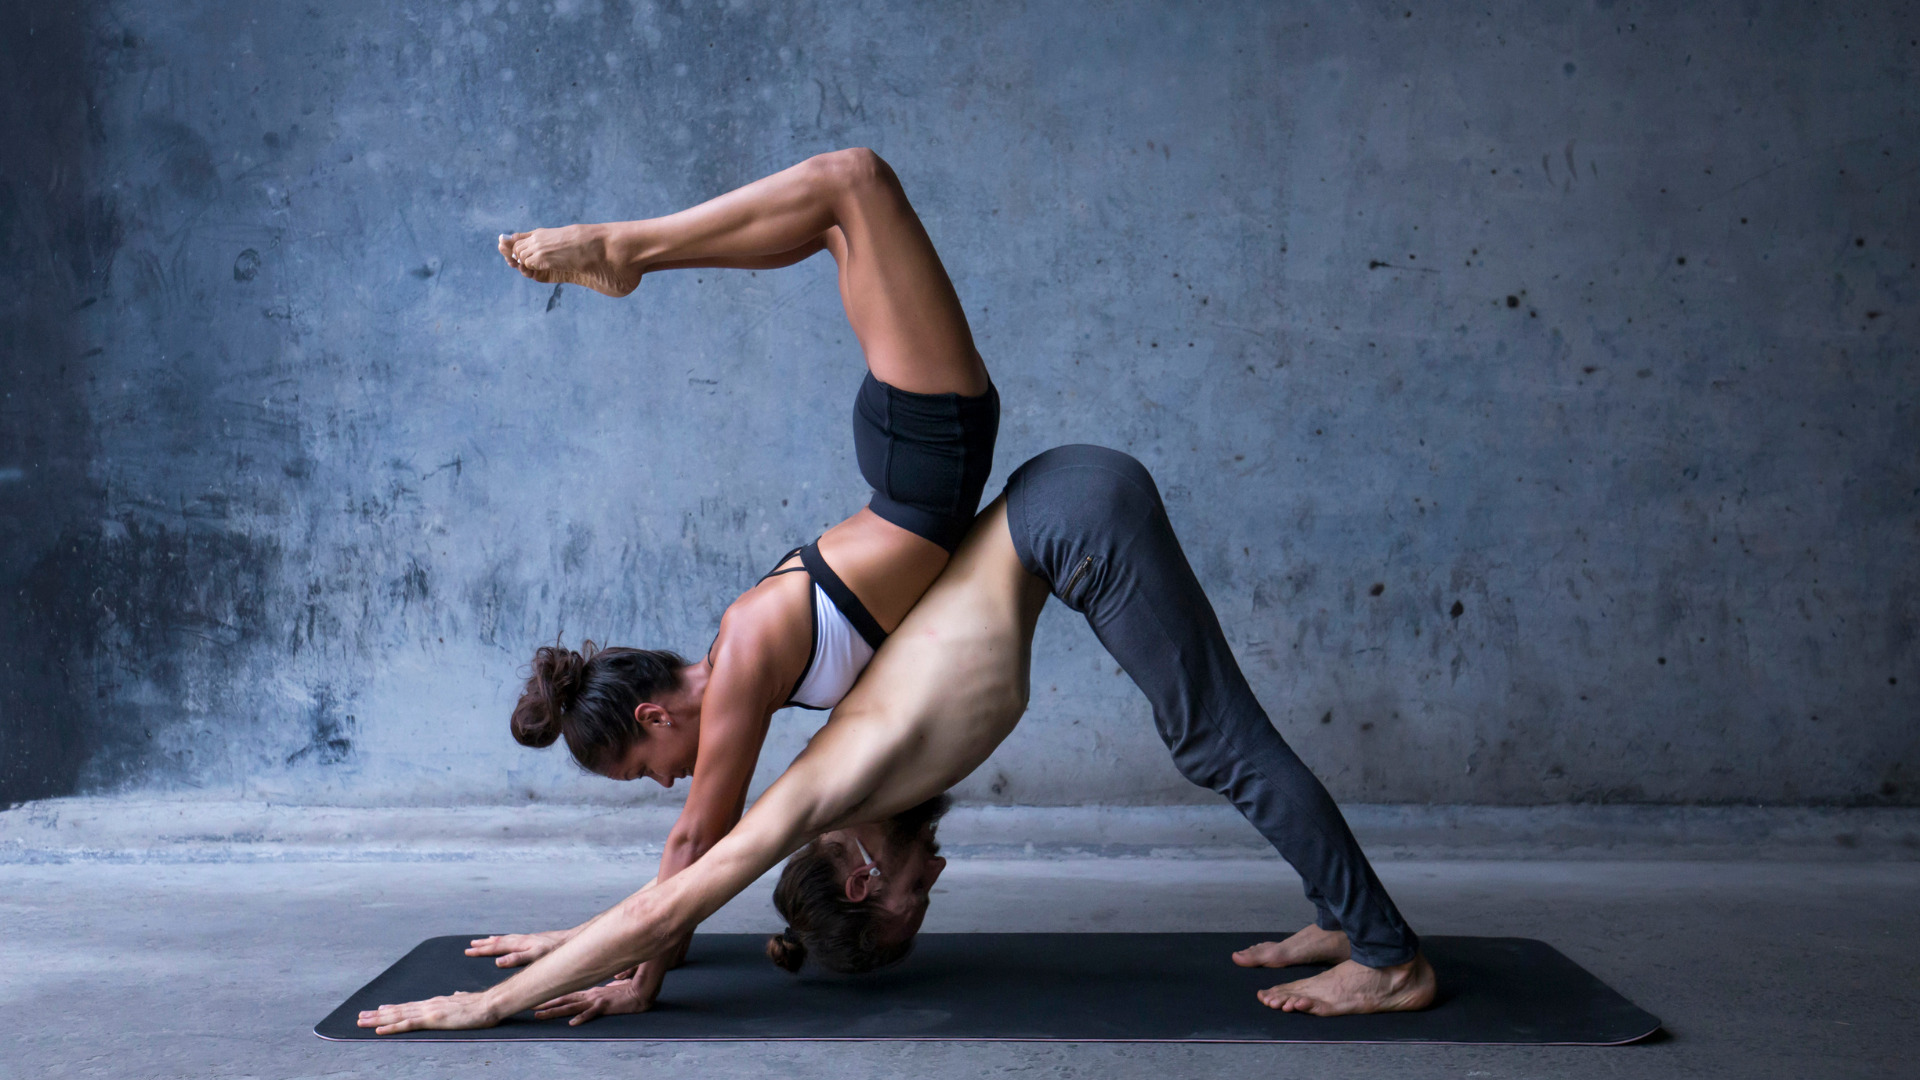
Beginner's Guide to 30 Essential Yoga Poses
Picture this: you’re sitting at your desk, feeling the weight of stress and tension in your body, especially in your back. You desperately need to ease the back pain caused by this prolonged sitting. What if I told you that a short yoga session focusing on breath can help? Feeling overwhelmed and exhausted by the deadlines and to-do lists, it’s important to find ease and create space for yourself. Take a moment to exhale and experience the calming effect it has on your mind. What if I told you there was an easy way to ease the weight of these feelings and bring balance back into your life? It’s a good idea to exhale. Enter yoga poses.
Yoga poses, also known as asanas, are physical postures that promote strength, flexibility, and relaxation. They involve stretches and exercises that help lengthen and strengthen the body. One example is the backbend, which involves arching the spine while exhaling and extending the arms. By incorporating yoga poses like the asana into your daily routine or attending regular yoga classes, you can experience a myriad of benefits for both your body and mind. These poses, such as the backbend, help to lengthen and reach your muscles, providing overall physical and mental wellness. From reducing stress levels to improving overall well-being, practicing yoga poses such as asanas and backbends can have a transformative effect on your life. These poses help lengthen and strengthen the body, promoting physical and mental wellness. Incorporating these poses into your yoga routine can lead to significant improvements in your overall health. To learn more about the benefits of yoga poses, visit Verywell.
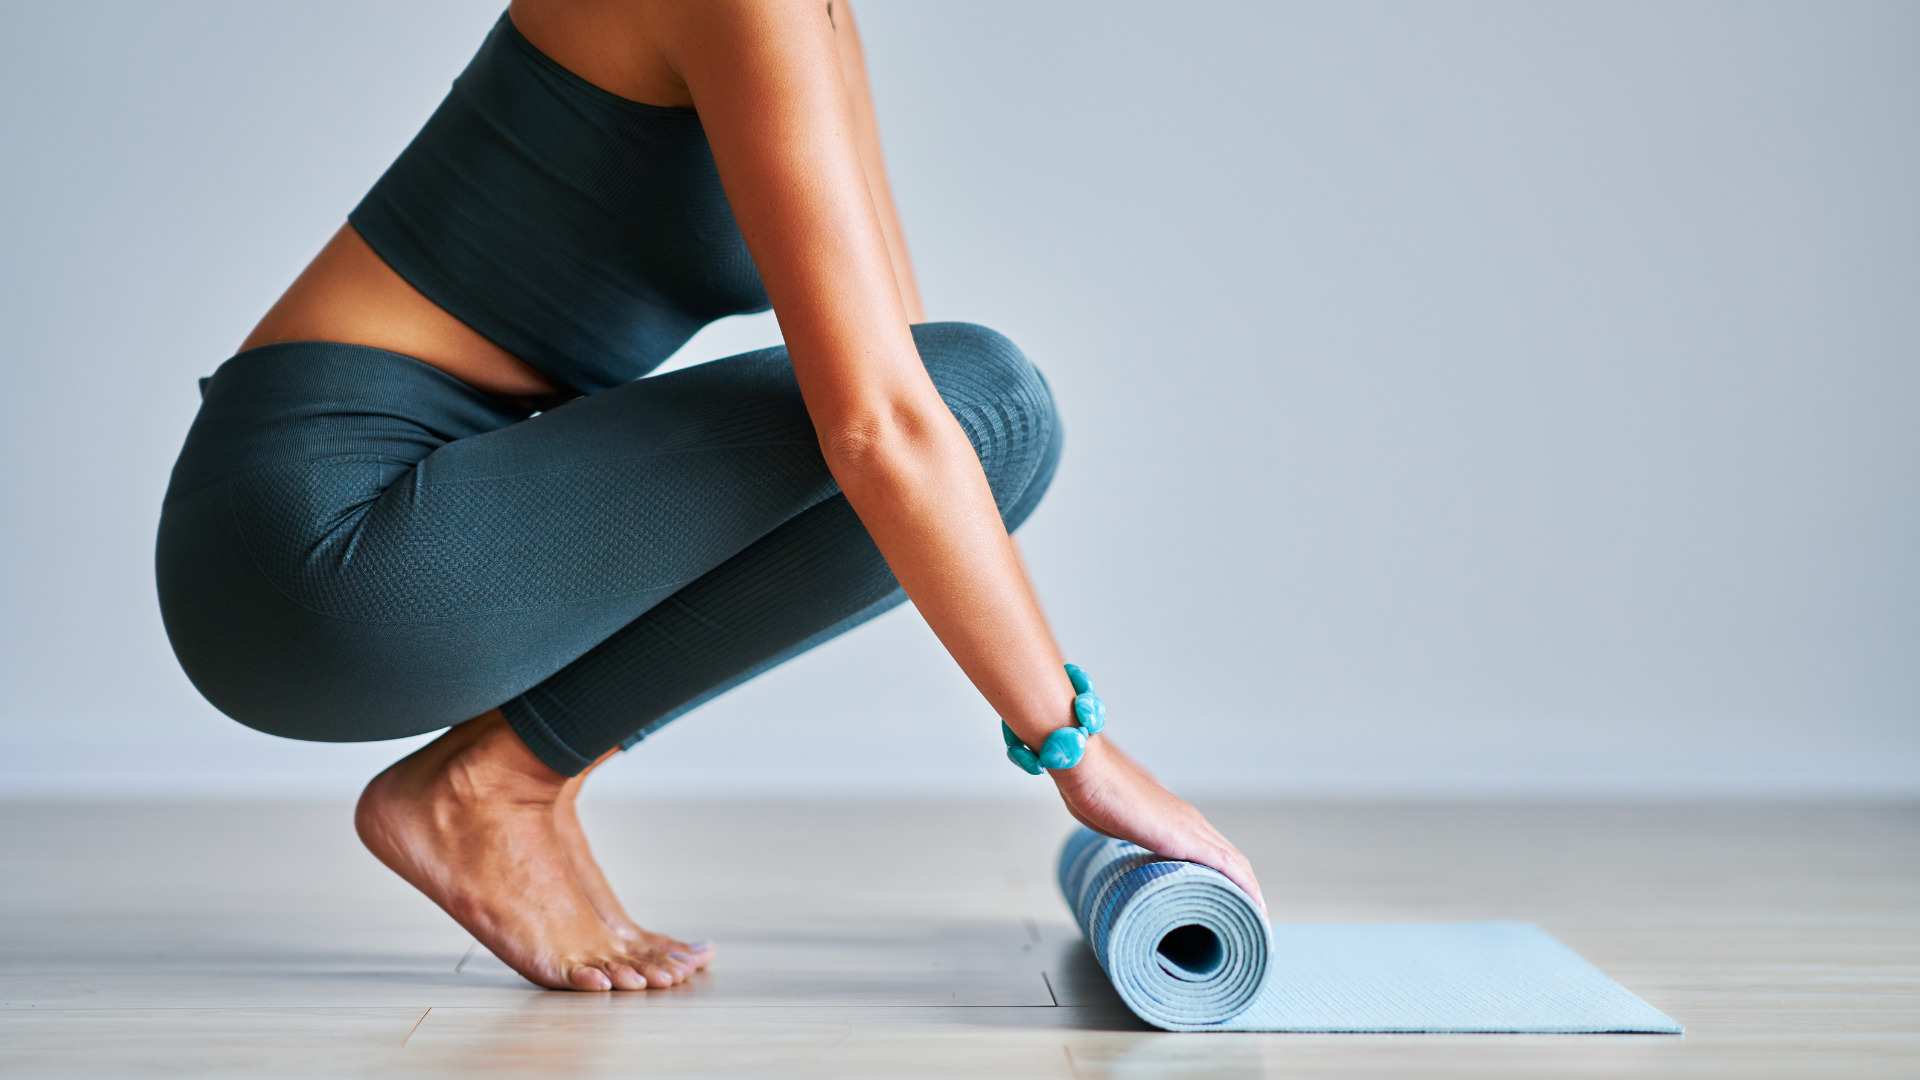
So grab your yoga mat and get ready to dive into the wonderful world of yoga poses that will help you reach and lengthen your muscles while using your hands and palms.
Beginner Yoga Poses for a Strong Foundation
If you’re new to yoga, a pro tip is to start with beginner yoga poses to ground yourself and build a solid foundation for your practice. Focus on engaging your shoulders and arms for a well-rounded experience. These poses are designed to help lengthen your shoulders, arms, and reach, while also focusing on proper alignment, learning essential breathing techniques, and gradually building strength. By incorporating these pro tip poses into your routine, you’ll develop flexibility, balance, and body awareness safely. These poses will help you reach and lengthen your arms.
Proper Alignment and Support
One of the key focuses of beginner yoga poses is proper alignment, which includes aligning the shoulders, lengthening the reach, and keeping the knees in proper position. Each pose is carefully designed to ensure that your arms and shoulders are aligned correctly, reducing the risk of injury and maximizing the benefits of the pose. Lengthen your arms and shoulders with this pro tip. As a beginner, it’s important to pay attention to the alignment cues given by instructors or follow detailed instructions from reliable sources like Verywell Fit. Here’s a pro tip: when performing exercises, make sure to engage your arms, foot, and shoulders correctly.
For example, in Bridge Pose (Setu Bandha Sarvangasana), you lie on your back with knees bent and feet flat on the mat. This pose helps to strengthen the floor of the pelvis, as well as stretching the muscles of the feet and arms. It is important to keep your feet and arms in the correct place to maintain proper alignment in this pose. By pressing your feet into the floor and lifting your hips off the mat while keeping your arms relaxed, you engage your glutes and core muscles. Bend your knees for added stability. This pose helps lift the arms and knees off the floor, strengthening the lower back and legs while opening up the chest.
Gradual Strength Building
Beginner yoga poses are designed to gradually build strength in your arms, lift your knees, and support your foot. They provide an opportunity for you to engage various muscle groups in your arms, while maintaining proper form by lifting your knees and foot. Consistency in practicing these poses will help you progress in both arm strength and foot flexibility over time. The effect of regularly doing these exercises on the floor is significant.
Take Cat-Cow Pose (Marjaryasana-Bitilasana) as an example. This gentle flow between arching and rounding your spine helps improve spinal mobility while engaging the core muscles. Lift your arms, bend your knees, and lower to the floor. It also stretches out the neck, shoulders, and arms, relieving tension in those areas. This lift effect is felt all the way down to the feet.
Developing Flexibility Safely
Flexibility is another aspect that beginner yoga poses target. Starting with simple poses on the floor allows beginners to work on increasing their range of motion and foot flexibility without pushing themselves too far too soon. This can have a positive effect on their ability to lift their feet higher during more advanced poses. As you become more comfortable and flexible, you can gradually deepen the poses on the floor or explore more challenging variations with the lift of your foot.
Child’s Pose (Balasana) is a popular beginner pose that helps release tension in the back, shoulders, hips, and feet. This pose is done by kneeling on the floor and sitting back on your heels, with your toes pointing towards the front. It provides a gentle stretch to the muscles in the foot and can be a great way to relax and unwind after a long day. By kneeling on the floor mat and folding your torso forward, resting your forehead on the ground, you stretch the muscles in your lower back and gently open up the hips. This is a exercise for overall flexibility and relaxation. This pose promotes relaxation and allows for a gentle stretch without putting excessive strain on any particular muscle group. It is a great way to lift your mood and improve flexibility. By engaging the muscles in the front of your body, you can strengthen your core and improve posture. Give it a try on a cushioned floor!
Consistency is Key
To fully benefit from beginner yoga poses, consistency is key. Whether you are practicing on a mat or directly on the floor, make sure to lift and engage your body in the appropriate type of pose. Regular practice on the floor will help lift, reinforce proper alignment, build strength progressively, and improve flexibility over time. It’s important to listen to your body and not push yourself beyond your limits. This is especially true when doing floor exercises. Whether you’re doing a known type of lift or a different type altogether, always prioritize your body’s signals. As you become more comfortable with these yoga poses, you can gradually incorporate them into longer sequences or try more challenging variations. These poses will help to strengthen and tone your muscles, especially in the lift and floor exercises. For more information on improving your fitness, check out the resources available on Verywell.
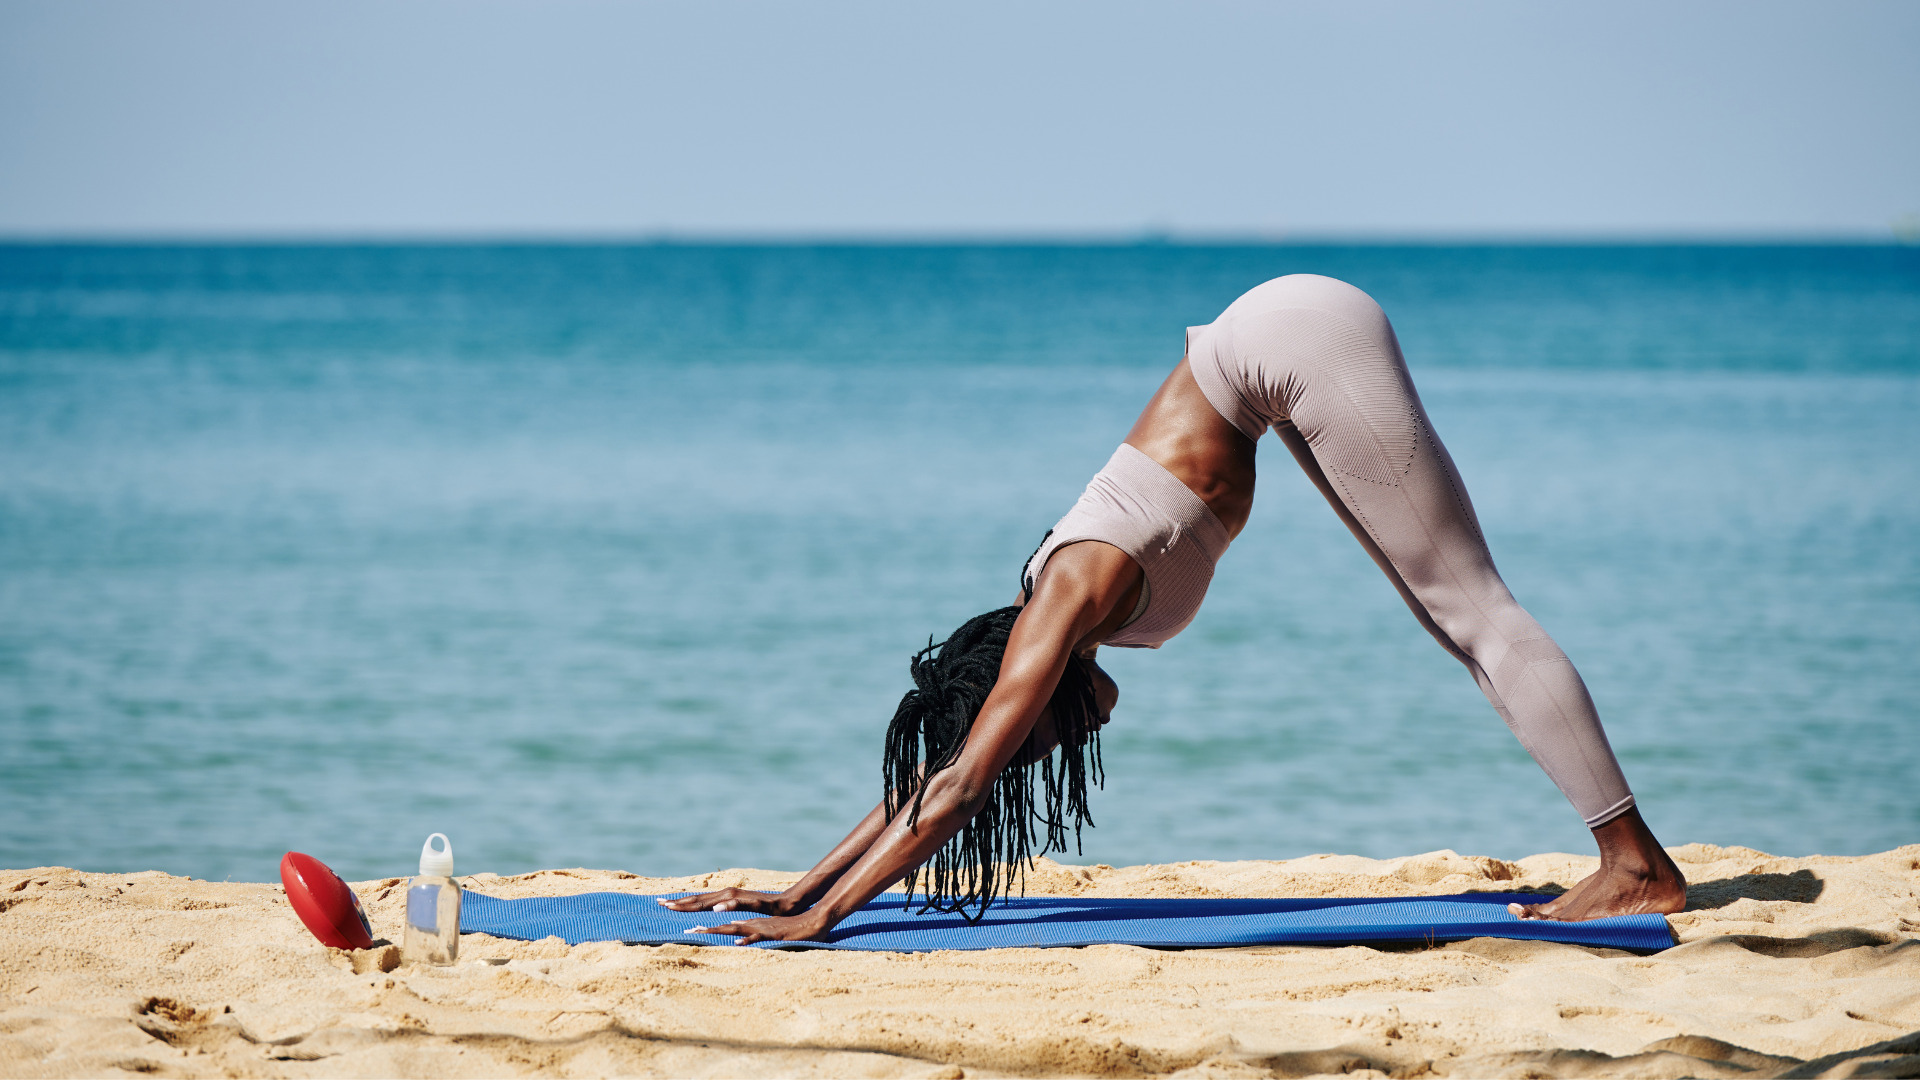
Pro Tip: When practicing beginner yoga poses on the floor, pay attention to the position of your fingers and lift them properly. Proper hand placement can enhance stability and support throughout each pose on the yoga mat. It is important to lift the hands correctly and maintain a firm grip on the floor. For example, spreading your fingers wide apart on the floor in Downward-Facing Dog (Adho Mukha Svanasana) helps lift and distribute weight evenly across your hands and wrists.
Chair Pose and Downward-Facing Dog on a Chair
Chair pose and downward-facing dog are two popular yoga poses that offer numerous benefits for the body and mind. These poses can be practiced on the floor or on a lift. However, these floor poses can sometimes be challenging for individuals with limited mobility or wrist issues. That’s where chair variations come in handy! Chair pose and downward-facing dog on a chair provide modified versions of these poses, making them accessible to a wider range of people who may not be able to practice them on the floor. Let’s delve into the details of these chair variations and explore their advantages.
Chair Pose: Strengthen Your Legs and Core Muscles
Chair pose, also known as Utkatasana, is a powerful standing posture that engages multiple muscle groups simultaneously. By simulating the action of sitting on an imaginary chair, this pose strengthens your legs, core muscles, and improves posture. Here’s why you should give it a try:
Leg Strength: Chair pose targets your quadriceps (front thigh muscles), hamstrings (back thigh muscles), calves, and ankles. Regular practice can help build strength in these areas.
Core Activation: As you sit back into the imaginary chair position, your abdominal muscles engage to support your spine. This helps improve core stability.
Posture Improvement: The alignment required in chair pose encourages an upright posture by lengthening the spine and opening the chest.
Balance Enhancement: Balancing in this stance challenges your stability and proprioception skills.
To perform chair pose correctly:
Stand with your feet hip-width apart.
Inhale deeply as you raise both arms overhead.
Exhale slowly as you bend your knees while keeping them together over your toes.
Imagine sitting back into a chair while maintaining a straight spine.
Engage your core muscles to support your lower back.
Hold this position for several breaths before releasing.
Downward-Facing Dog on a Chair: Stability Support for a Nice Stretch
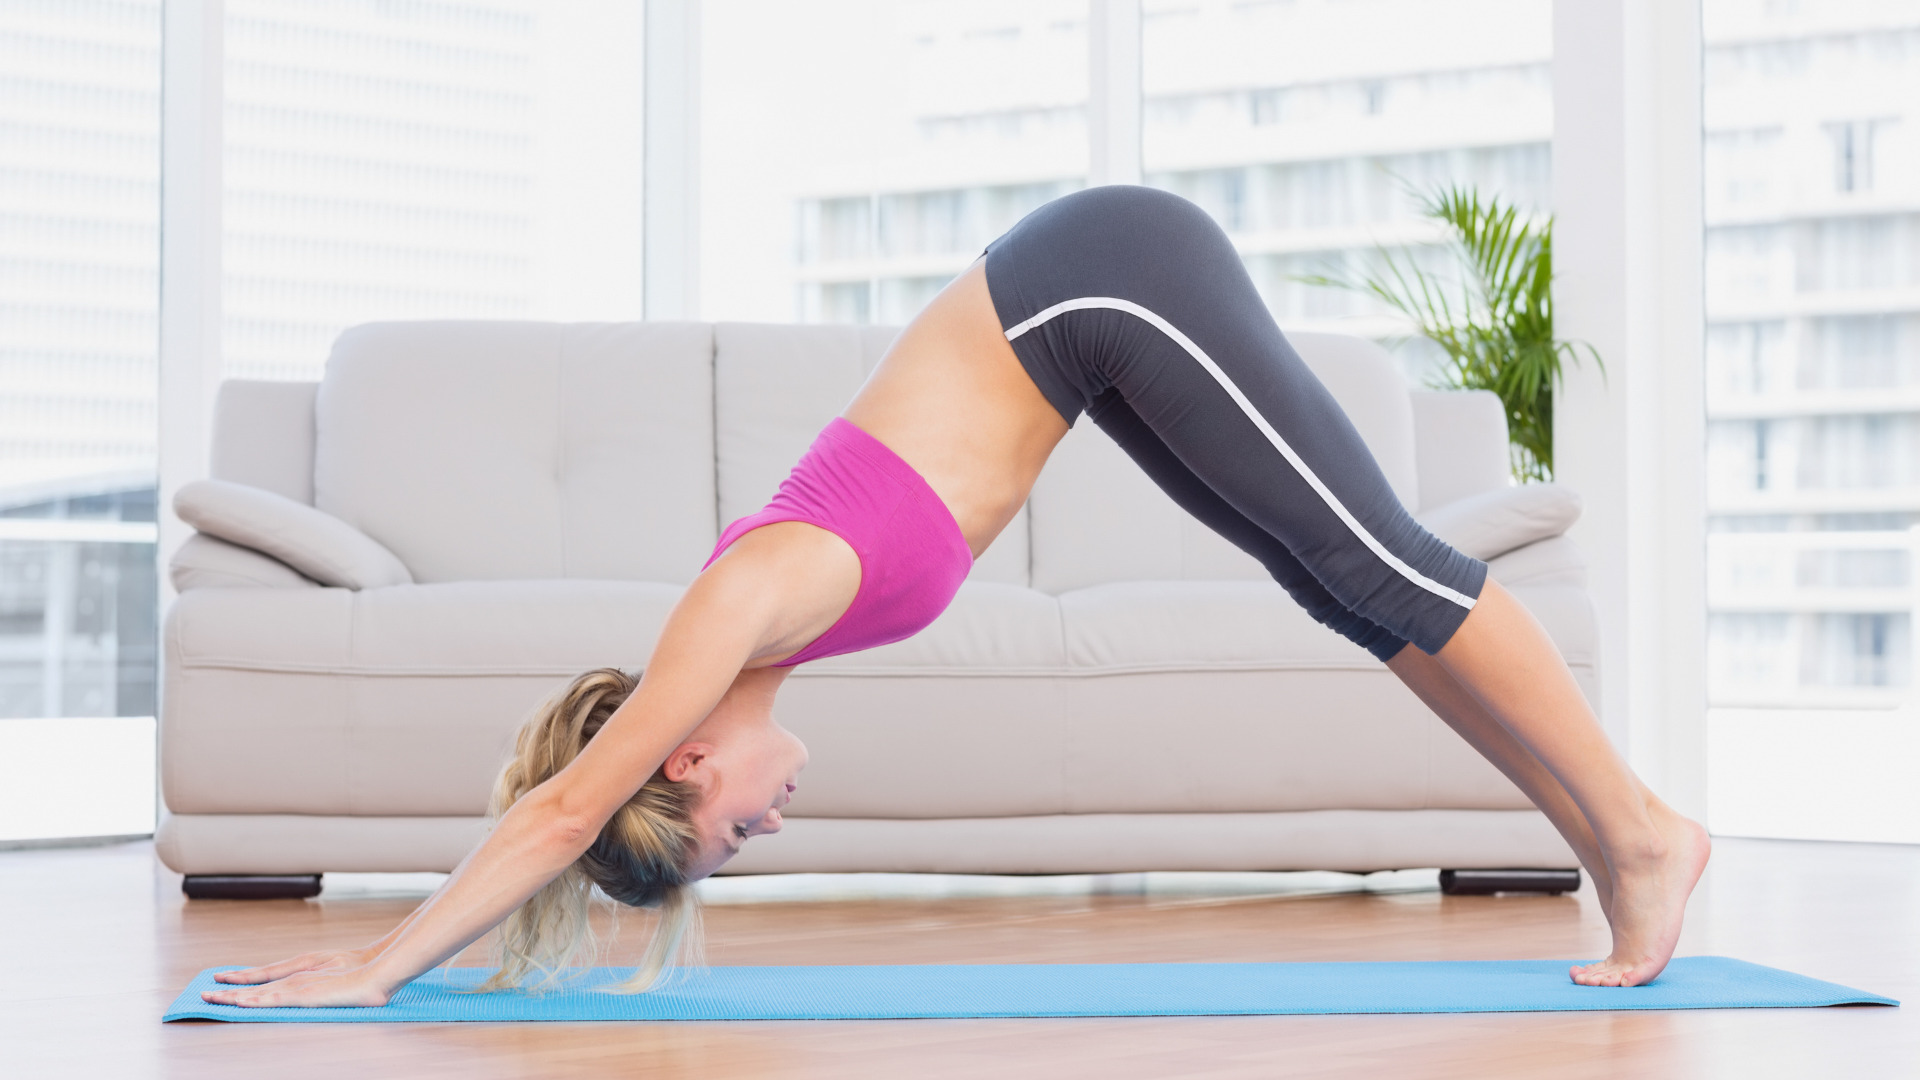
Downward-facing dog, or Adho Mukha Svanasana, is a classic yoga pose that provides a deep stretch for the entire body. However, it can be challenging for those with limited mobility or wrist discomfort. Downward-facing dog on a chair offers a modified version that allows you to experience similar benefits with added stability support. Here’s why it’s worth incorporating into your practice:
Gentle Backbend: Downward-facing dog on a chair provides a gentle backbend that stretches and strengthens the muscles along your spine.
Hip and Hamstring Flexibility: This variation allows for a nice stretch in the hips and hamstrings, helping to improve flexibility in these areas.
Reduced Wrist Strain: Placing your hands on the seat of the chair instead of bearing weight on your palms reduces strain on the wrists.
Easing Into the Pose: Using a chair helps beginners ease into downward-facing dog with proper form before progressing to the traditional pose.
To practice downward-facing dog on a chair:
Begin by sitting upright on a chair with your feet flat on the ground.
Place your hands shoulder-width apart on the seat of the chair, fingers pointing forward.
Walk your feet back until your hips are directly above your heels, creating an L-shape with your body.
Engage your core muscles as you lift your hips up towards the ceiling while keeping your legs straight (or slightly bent if needed).
Relax your head and neck, allowing them to hang freely between your arms.
Breathe deeply and hold this position for several breaths before gently releasing.
Incorporating these variations into regular practice adds variety to your routine while providing modifications for those who may struggle with traditional poses. Whether you’re looking to strengthen specific muscle groups, improve posture, or increase flexibility, chair pose and downward-facing dog on a chair offer accessible options for all levels of practitioners.
Mountain Pose and Tree Pose for Posture and Balance
In the world of yoga, there are countless poses that offer a wide range of benefits for both the mind and body. Two such poses that are particularly effective in promoting good posture and enhancing balance are the Mountain Pose (Tadasana) and the Tree Pose (Vrikshasana). Let’s take a closer look at these poses and how they can benefit you.
Mountain pose promotes good posture by aligning the spine correctly from head to toe
Mountain pose, as its name suggests, is all about standing tall and strong like a mountain. This foundational pose may seem simple, but it has profound effects on your posture. By consciously aligning your spine from the crown of your head down to your tailbone, you create a sense of lengthening and opening within your entire body.
Benefits:
Promotes proper alignment: Mountain pose helps correct poor posture habits by aligning the spine in its natural curvature.
Strengthens core muscles: Holding this pose requires engaging your abdominal muscles, which helps strengthen your core over time.
Increases body awareness: By focusing on proper alignment in this pose, you become more aware of how you hold yourself throughout daily activities.
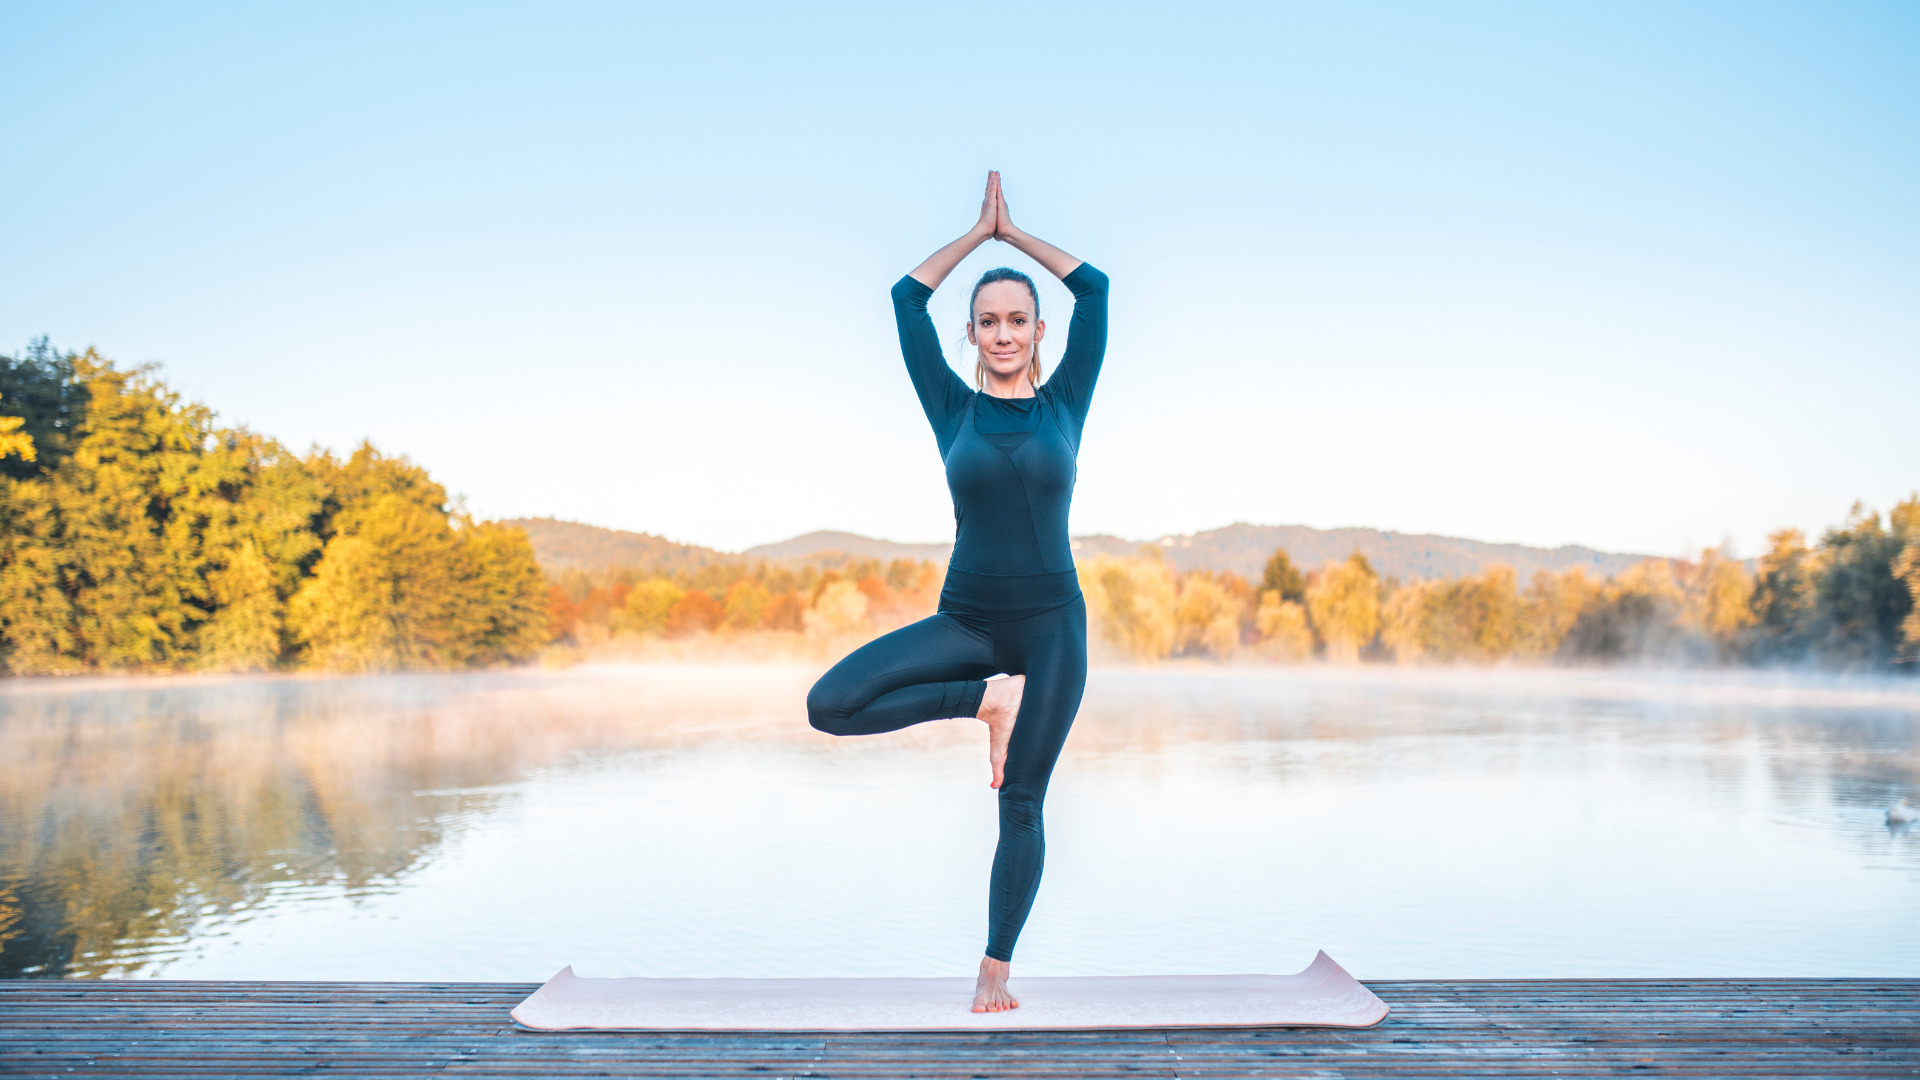
The tree pose enhances balance by strengthening leg muscles while maintaining focus
The tree pose is an excellent way to improve balance while simultaneously building strength in your legs. As you stand on one leg with the other foot resting against your inner thigh or calf, you engage various muscles to maintain stability. Balancing can be challenging at first, but with practice, you’ll notice improvements not only in physical balance but also in mental focus.
Benefits:
Improves coordination skills: The tree pose challenges your coordination as you balance on one leg while keeping a steady gaze.
Enhances concentration: Maintaining focus during this balancing act improves concentration and mindfulness.
Strengthens ankle stability: As you balance on one foot, your ankle muscles work hard to keep you steady, which helps improve stability and prevent injuries.
Standing tall in mountain pose creates a sense of grounding and stability
When you practice the Mountain Pose, imagine yourself as a majestic mountain rooted firmly into the ground. This pose allows you to connect with the earth beneath your feet and cultivate a sense of grounding and stability. By feeling this connection, you can bring a sense of calmness and tranquility to both your body and mind.
Benefits:
Grounding energy: Mountain pose helps to ground excessive energy by bringing awareness to the soles of your feet.
Enhances stability: By focusing on maintaining balance in this pose, you strengthen your leg muscles, improving overall stability.
Cultivates inner strength: The strong and stable stance of mountain pose fosters inner strength and resilience.
The tree pose challenges coordination skills while improving concentration
As you stand tall like a tree in Vrikshasana, balancing on one leg while extending the other foot against your thigh or calf, you challenge your coordination skills. This balancing act requires concentration and focus to maintain stability. Over time, as you become more proficient in this pose, it will enhance not only physical balance but also mental clarity.
Benefits:
Boosts mental focus: The concentration required to hold the tree pose improves mental clarity and focus.
Develops coordination: Balancing on one leg while keeping a steady gaze enhances coordination skills.
Increases body-mind connection: By combining physical balance with mental presence, the tree pose strengthens the connection between your body and mind.
Including both these standing postures in your routine improves overall body awareness. Whether you’re practicing yoga for fitness or relaxation purposes, incorporating Mountain Pose (Tadasana) for good posture and Tree Pose (Vrikshasana) for balance will undoubtedly contribute positively to your practice.
Standing Forward Bends: Wide-Legged Forward Bend I, II, and III
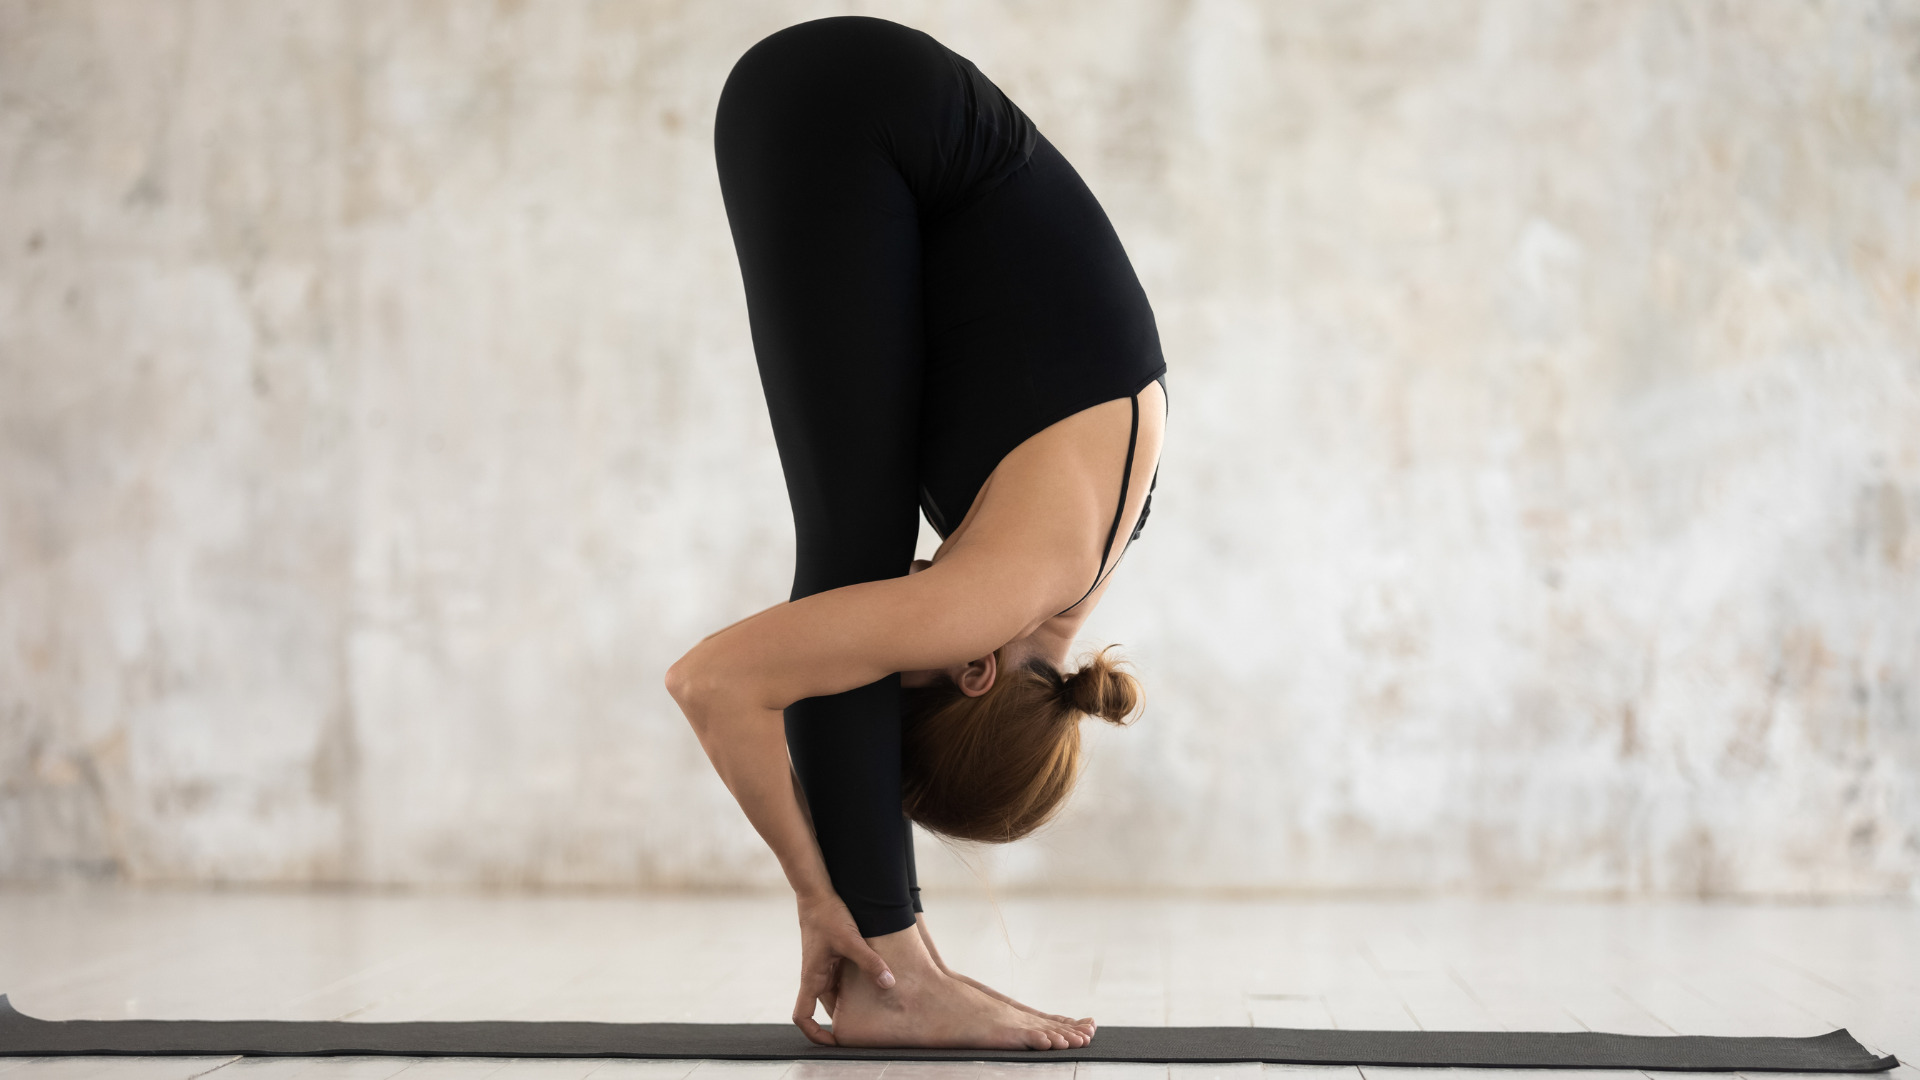
Wide-Legged Forward Bend I is a fantastic yoga pose that targets the hamstrings, hip flexors, and lower back. This standing forward bend involves standing with your feet wide apart and folding forward from the hips. As you fold forward, you will feel a deep stretch in your hamstrings as well as an opening in your hips. This pose helps to improve flexibility in these areas and can also alleviate tension in the lower back.
Wide-Legged Forward Bend II takes the stretch a step further by targeting the inner thighs and groin area. In this variation of the pose, you start with your feet wider apart than in Wide-Legged Forward Bend I. As you fold forward, you focus on lengthening the spine while simultaneously broadening through the inner thighs. This pose provides an excellent stretch for both the spine and inner thigh muscles.
Wide-Legged Forward Bend III is all about lengthening the spine and strengthening the core muscles. In this variation, you begin with your feet together and then step one foot back into a lunge position. From there, you fold forward over your front leg while keeping your core engaged. This pose not only stretches the hamstrings but also strengthens the abdominal muscles.
These standing forward bends offer numerous benefits for both body and mind:
Release tension: The act of folding forward in these poses helps release tension that may have accumulated in the upper body throughout the day.
Promote relaxation: The gentle stretching of these poses can induce a sense of calmness and relaxation.
Improve flexibility: Regular practice of these poses can significantly improve flexibility in the legs, particularly in the hamstrings and inner thighs.
Strengthen leg muscles: These poses engage various leg muscles such as quadriceps, hamstrings, and adductors (inner thigh muscles), leading to increased strength and stability.
Enhance posture: By lengthening the spine and engaging the core, these poses contribute to better posture over time.
To perform these standing forward bends correctly:
Start in a standing position with your feet hip-width apart.
Step your feet wide apart for Wide-Legged Forward Bend I or even wider for Wide-Legged Forward Bend II.
In Wide-Legged Forward Bend III, step one foot back into a lunge position while keeping your front knee directly above your ankle.
With each pose, inhale deeply and as you exhale, fold forward from the hips while keeping your spine long.
Allow your head to hang heavy and relax your neck muscles.
If possible, place your hands on the floor in front of you or hold onto opposite elbows behind your legs to deepen the stretch.
Stay in each pose for 5-10 breaths, gradually increasing the duration as you become more comfortable.
Remember to listen to your body and make modifications as needed. If you have any existing injuries or conditions that may be aggravated by these poses, it’s best to consult with a qualified yoga instructor before attempting them.
Seated Forward Bends: Janu Shirshasana A, B, and C
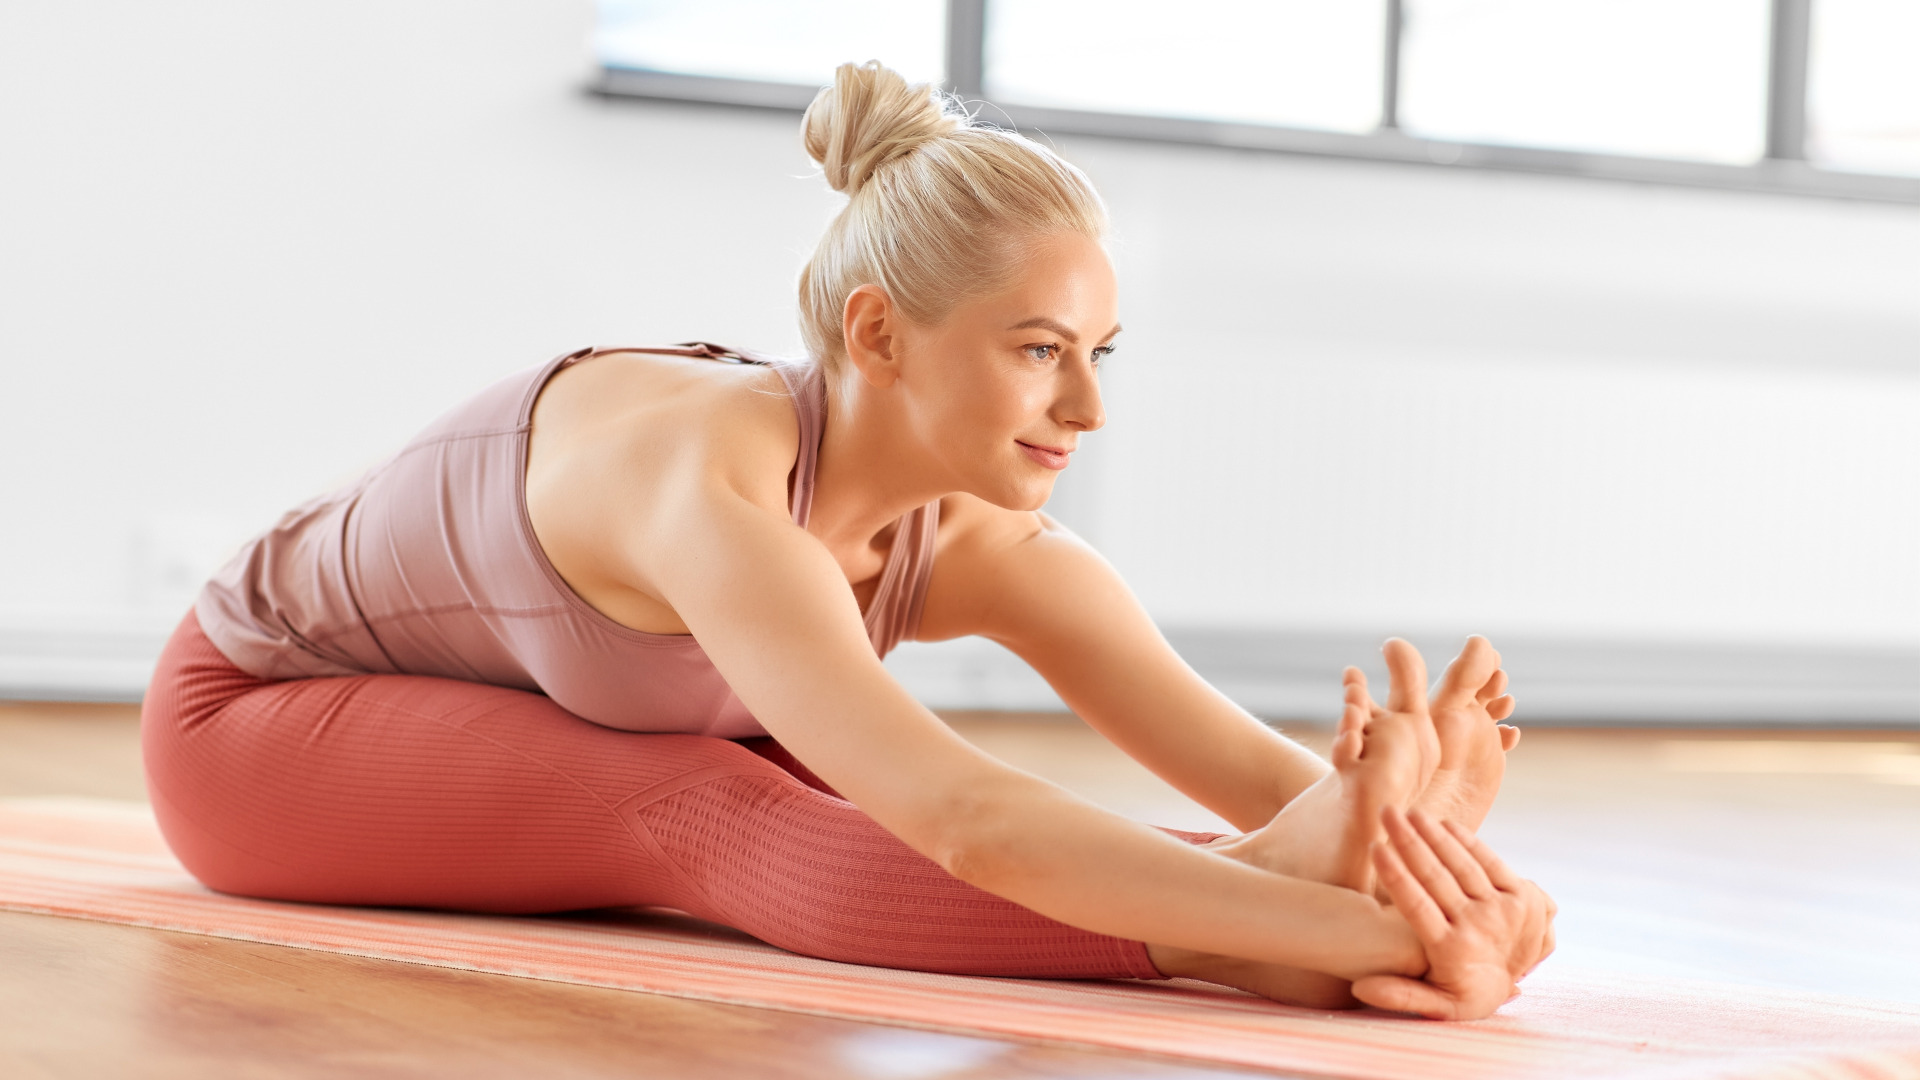
Seated forward bends are an essential part of any yoga practice, and one set of poses that you should definitely add to your routine is the Janu Shirshasana series. These poses focus on stretching the hamstrings, hips, lower back, and abdominal muscles while promoting relaxation and calmness. Let’s take a closer look at each variation of Janu Shirshasana.
Janu Shirshasana A
Janu Shirshasana A is a seated forward bend where you stretch one leg at a time while folding forward. This pose helps enhance flexibility in the hamstrings and calves. By gently leaning forward with a straight spine, you can feel a deep stretch along the back of your extended leg. This posture also helps to lengthen the muscles in your lower back.
Pros:
Stretches and strengthens the hamstrings.
Improves flexibility in the legs.
Relieves tension in the lower back.
Cons:
May be challenging for individuals with tight hamstrings or limited flexibility.
Requires proper alignment to avoid strain on the knees.
Janu Shirshasana B
Janu Shirshasana B takes the seated forward bend to another level by involving both legs extended with a deeper fold forward. This pose targets not only the hamstrings but also stretches the hips and lower back more intensely. With regular practice, this variation can help increase hip mobility and improve overall flexibility in these areas.
Pros:
- Provides a deeper stretch for the hips, lower back, and hamstrings.
- Increases flexibility in key muscle groups.
- Stimulates blood flow to these areas for improved circulation.
Cons:
- Requires caution if you have existing hip or lower back injuries.
- May require props like blocks or straps for support if flexibility is limited.
Janu Shirshasana C
Janu Shirshasana C is an advanced variation of the seated forward bend that incorporates a twist. In this pose, you start with Janu Shirshasana B and then add a gentle twist towards the extended leg. This twisting action further engages the abdominal muscles while stretching and lengthening the spine.
Pros:
Strengthens the core muscles.
Increases flexibility in the spine.
Enhances digestion by massaging the internal organs.
Cons:
Not suitable for beginners or individuals with back injuries.
Requires proper warm-up and preparation to avoid strain on the spine.
Seated forward bends, including the Janu Shirshasana series, provide a gentle stretch for tight muscles in the back of your legs. These poses can be particularly beneficial for individuals who spend long hours sitting or have sedentary lifestyles. Regular practice of these poses can help relieve stress, calm the mind, improve digestion, and promote overall well-being.
Remember to always listen to your body and modify these poses as needed. Start with Janu Shirshasana A if you’re new to yoga or have limited flexibility. As you progress, gradually explore Janu Shirshasana B and eventually challenge yourself with Janu Shirshasana C if it feels appropriate for your practice.
So why not give these seated forward bends a try? Incorporate them into your yoga routine and experience their wonderful benefits firsthand!
Core Strength and Inversions: Plank Pose, Dolphin Pose, and Supported Shoulder Stand
Plank pose is an excellent yoga pose for building core strength. It targets the muscles in your abs, obliques, lower back, and shoulders. By holding a strong plank position, you engage your entire core and develop stability throughout your body.
Dolphin pose is another fantastic yoga pose that not only builds upper body strength but also stretches your hamstrings and calves. This pose is similar to downward-facing dog but with your forearms on the ground instead of your hands. It activates the muscles in your shoulders, core, and shoulder blades while providing a deep stretch to the back of your legs.
Supported shoulder stand is an inversion pose that offers numerous benefits for both the body and mind. This pose improves circulation by reversing blood flow and bringing fresh oxygen to the brain. Supported shoulder stand stimulates the thyroid gland, which plays a crucial role in regulating metabolism.
Incorporating these core-strengthening exercises into your yoga practice enhances stability during other poses. When you have a strong core, you can maintain proper alignment and balance in various yoga postures. This stability helps prevent injuries and allows you to deepen your practice.
Inversions like supported shoulder stand take things up a notch by flipping our world upside down—literally! These poses reverse blood flow towards the heart and bring fresh oxygenated blood to our brains. As a result, inversions promote mental clarity, increase energy levels, boost mood, relieve stress, improve digestion—the list goes on!
To summarize:
Plank pose strengthens core muscles including abs, obliques, lower back & shoulders.
Dolphin pose builds upper body strength while stretching hamstrings & calves.
Supported shoulder stand improves circulation & stimulates thyroid gland.
Incorporating core-strengthening exercises enhances stability during other yoga poses.
Inversions like supported shoulder stand reverse blood flow & bring fresh oxygen to the brain.
Incorporating plank pose, dolphin pose, and supported shoulder stand into your yoga routine can have a transformative impact on your overall strength and well-being. These poses not only target specific muscle groups but also provide a holistic approach to fitness.
When practicing plank pose, focus on maintaining a straight line from your head to your heels. Engage your core by drawing your belly button towards your spine and squeezing your glutes. Start with shorter holds and gradually increase the duration as you build strength.
Dolphin pose requires you to press firmly through your forearms while keeping your shoulders away from your ears. As you lift your hips towards the ceiling, actively engage your core muscles to maintain stability throughout the pose. Remember to breathe deeply and relax any tension in your neck and shoulders.
Supported shoulder stands may require some props such as blankets or blocks for support. Begin by lying flat on your back with legs extended upwards against a wall or using props under the hips for elevation. This inversion should be practiced mindfully and avoided if you have any neck or shoulder injuries.
It’s important to listen to your body and modify these poses as needed. If something doesn’t feel right or causes pain, honor what feels comfortable for you. Always consult with a qualified yoga instructor or healthcare professional if you have any concerns or medical conditions.
By incorporating core-strengthening exercises like plank pose, dolphin pose, and supported shoulder stand into our practice, we can build a solid foundation of strength that supports us both on and off the mat. So why not give them a try? Your body will thank you!
Progressing from Basic to Advanced Yoga Poses
Congratulations on completing the sections on beginner yoga poses and progressing towards more advanced ones! You’ve built a strong foundation, improved your posture and balance, and developed core strength. Now it’s time to take your practice to the next level.
To continue advancing in your yoga journey, I encourage you to explore more challenging poses like Crow Pose, Headstand, or even Handstand. These poses may seem intimidating at first, but with patience and practice, you’ll be surprised at what you can achieve. Remember, progress is not linear. It’s okay if you don’t master these poses right away. Embrace the process and enjoy the journey of self-discovery.
Now that you have an understanding of how to progress from basic to advanced yoga poses, it’s time for you to take action! Grab your mat, find a quiet space, and challenge yourself with new postures. Don’t forget to listen to your body and modify as needed. The most important thing is to keep moving forward and never stop exploring what your body is capable of.
FAQs:
Can I practice advanced yoga poses if I'm a beginner?
Yes! While it’s important to build a strong foundation with basic poses first, beginners can gradually work their way up towards more advanced postures. Take it step by step, listen to your body, and don’t rush the process. With consistent practice and proper guidance from a qualified instructor, you can safely explore advanced yoga poses.
How long does it take to progress from basic to advanced yoga poses?
The timeline for progressing from basic to advanced yoga poses varies for each individual. It depends on factors such as consistency of practice, flexibility, strength levels, and overall dedication. Some people may see progress within a few months while others may take longer. Remember that everyone’s journey is unique – focus on your own growth rather than comparing yourself with others.
Can I practice advanced yoga poses at home?
Yes, you can practice advanced yoga poses at home. However, it’s important to approach them with caution and seek proper guidance. Consider taking online classes or following instructional videos from reputable sources to ensure you’re practicing safely and effectively.
Are there any risks involved in practicing advanced yoga poses?
As with any physical activity, there are potential risks involved in practicing advanced yoga poses. It’s crucial to approach these poses mindfully and listen to your body. If you have any pre-existing injuries or medical conditions, consult with a healthcare professional before attempting advanced postures. Always warm up properly and use props when necessary to support your practice.
How can I prevent injuries while progressing towards advanced yoga poses?
To prevent injuries while progressing toward advanced yoga poses, it’s essential to prioritize safety and alignment. Take your time to build strength and flexibility gradually. Focus on mastering the foundational aspects of each pose before attempting more challenging variations. Practice under the guidance of an experienced teacher who can provide corrections and modifications tailored to your individual needs. Remember that patience is key – don’t rush the process and always prioritize self-care during your yoga journey.
Share:


Social Media
Most Popular
Subscribe To Our Weekly Newsletter
No spam, notifications only about new post, updates.
Categories
Related Posts
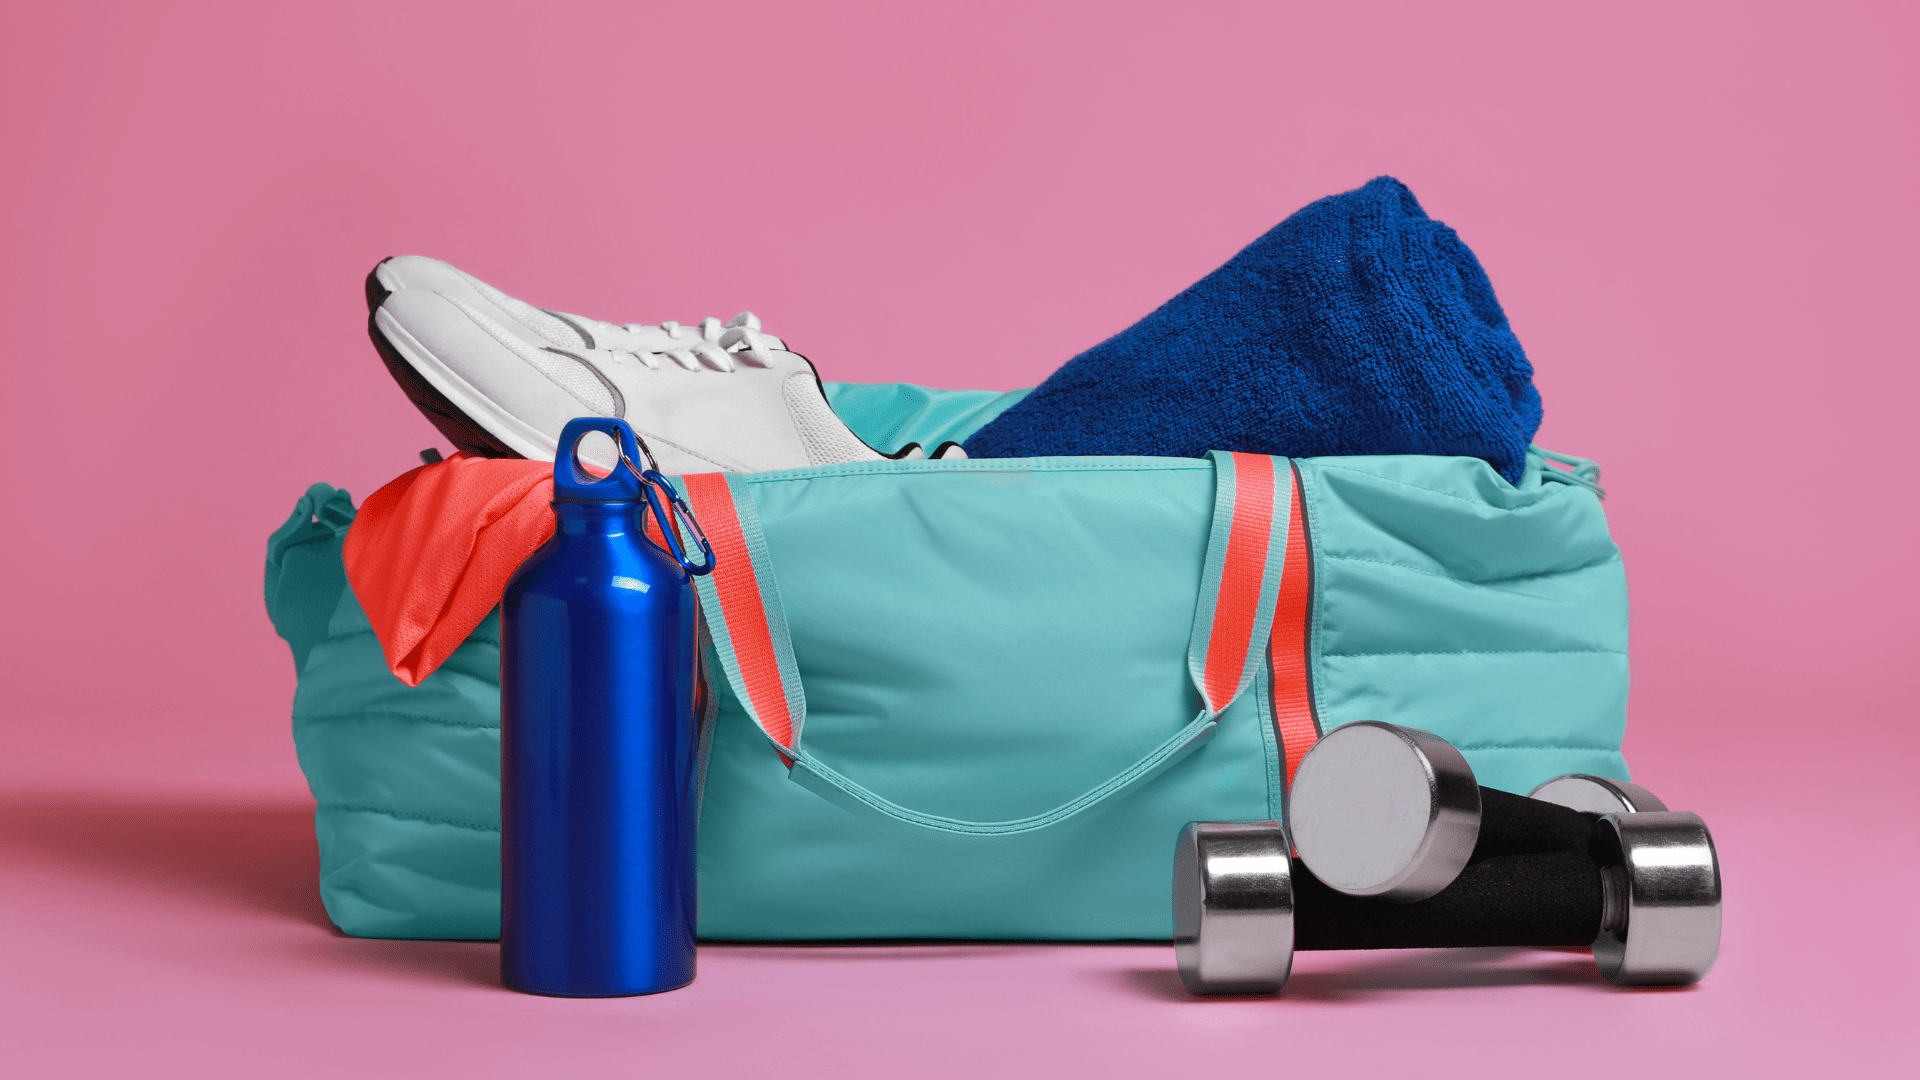
The Best Gym Bags for Women in 2025 (Cute, Stylish & Functional!)
Tired of your old gym bag? Discover the best cute, stylish, and functional gym bags for women. From chic totes to versatile backpacks with shoe compartments, find the perfect bag to take you from workout to weekend in style.
From Bloating to Balance: Fermented Foods for Gut Health: What Women Should Know
Feeling bloated or hormonally imbalanced? Your gut may hold the key. Discover the best fermented foods for women’s health, how they improve digestion, mood, and hormonal balance, and how to easily add them to your diet.
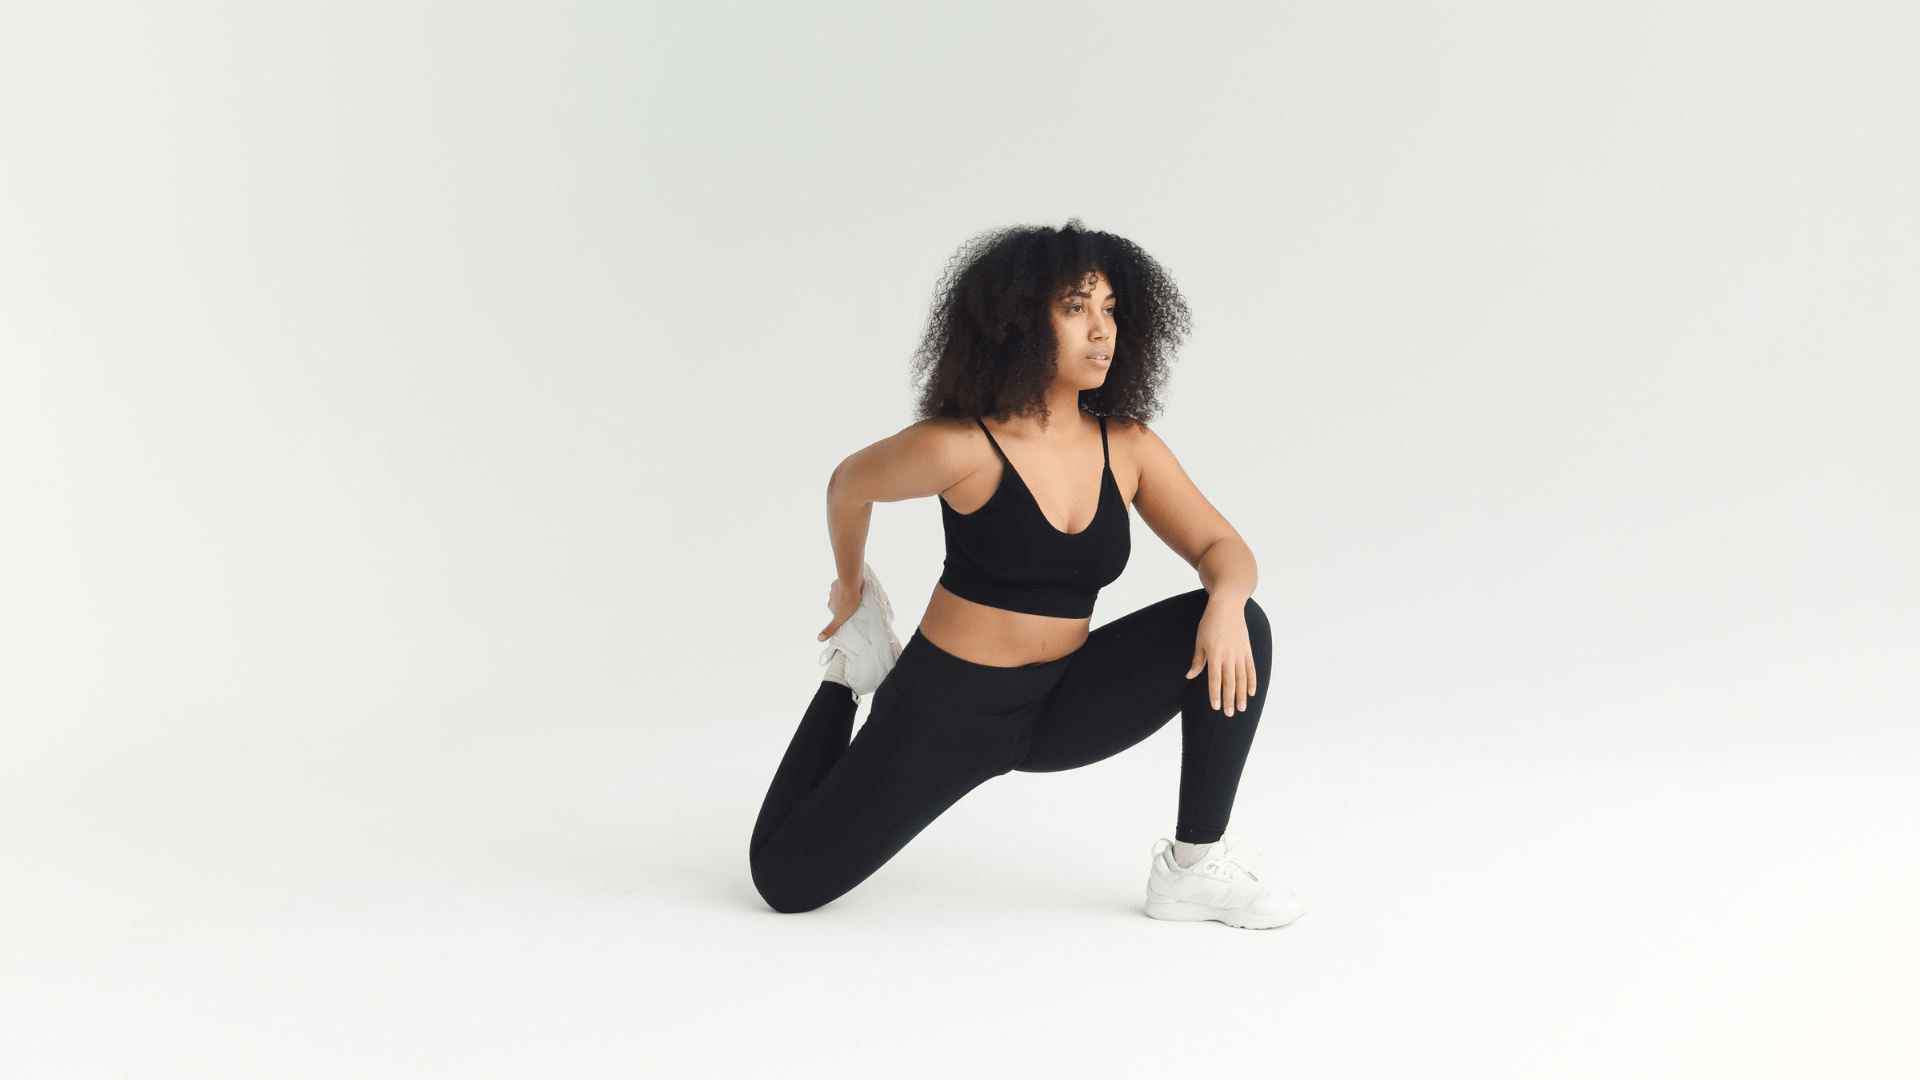
Unleash Your Lower Body Power: The Best Compound Exercises to Grow Your Legs Fast
Want to build strong, sculpted legs quickly? Discover the most effective compound exercises for women that target multiple leg muscles simultaneously for faster growth and a powerful lower body. Say hello to leg day gains!

The Ultimate High-Protein Breakfast Bagel
Upgrade your morning with the ultimate high-protein breakfast bagel! This recipe stacks a toasted bagel with a cheesy cottage cheese egg scramble, savory sausage, and creamy avocado for over 40g of protein.
Related Posts
The Best Gym Bags for Women in 2025 (Cute, Stylish & Functional!)
Tired of your old gym bag? Discover the best cute, stylish, and functional gym bags for women. From chic totes to versatile backpacks with shoe compartments, find the perfect bag to take you from workout to weekend in style.
From Bloating to Balance: Fermented Foods for Gut Health: What Women Should Know
Feeling bloated or hormonally imbalanced? Your gut may hold the key. Discover the best fermented foods for women’s health, how they improve digestion, mood, and hormonal balance, and how to easily add them to your diet.
Unleash Your Lower Body Power: The Best Compound Exercises to Grow Your Legs Fast
Want to build strong, sculpted legs quickly? Discover the most effective compound exercises for women that target multiple leg muscles simultaneously for faster growth and a powerful lower body. Say hello to leg day gains!
The Ultimate High-Protein Breakfast Bagel
Upgrade your morning with the ultimate high-protein breakfast bagel! This recipe stacks a toasted bagel with a cheesy cottage cheese egg scramble, savory sausage, and creamy avocado for over 40g of protein.